Added:
10 Nov 2010
This fantastic hairstyle sits beautifully to frame the jaw-line with its wispy cut layers which encourage bounce and movement to the mid-lengths to ends. The vibrant color of this hairstyle will definitely turns heads and will need to be maintained every 4-6 weeks.
Medium Wavy Copper Hairstyle with Side Swept Bangs

Image © TheHairStyler.com

Image © TheHairStyler.com
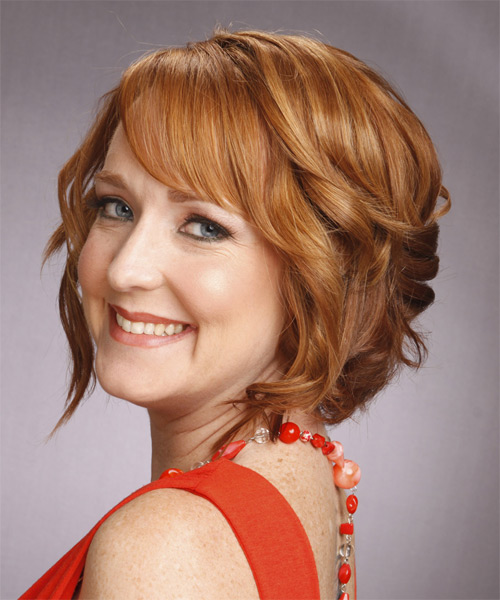
Image © TheHairStyler.com
Hairstyle Suitability Rating:
Hairstyle Popularity Rating: ★★★★★
Hairstyle Popularity Rating: ★★★★★
Hairstyle Type
Category
Formal
Length
Medium
Elasticity
Wavy
Hair Color
Copper
Haircut Technique
Type
Scissor Cut
Suitability
Gender
Women
Face Shape
oval,oblong,square,diamond
Hair Density
Thin/Medium
Hair Texture
Fine/Medium
Age
Under 21, 21 - 30, 31 - 40, and 41 - 50
Height
Any
Weight
Thin/Average/Large
Forehead Height
Short/Average
Neck Length
Short/Average
Ears
Small/Average
Nose
Small/Average
Glasses
Yes
Styling
Time
20 minutes
Tip
Bring the front sections down and forward around your face to create a soft shaped ‘do.
Products
mousse, wax, smoothing shine, hair spray
Tools
blow dry, curling iron

