Added:
30 Mar 2023
Zendaya has an astonishing butterfly bob that is full of volume and movement. The longest layers of the butterfly cut's heavily layered, feathery style fall just below the shoulder. In order to provide the appearance of having shorter strands, shorter layers are clipped around the crown of your head. About two to three inches below your chin, the shortest top layer will fall, which will allow the layers to frame your neck and chin area. Due to the layers, this butterfly haircut is ideal for those with oval and square face shapes. It will suit any hair type, but the medium thickness will work the best. Zendaya has added chocolate-colored highlights to this look to lighten her hair color a bit, but it still looks natural, which we love.
When it comes to your makeup, use a brown smoky eye with a colored lower lash line to highlight and lengthen your eyes. or maybe no shadow at all on the eye and a pink lip for a delicate glam appearance. Just keep in mind that this haircut attracts more attention to your forehead, so be sure to contour it and add a blush to the center of your cheeks to give your face lovely depth.
Zendaya Butterfly Bob Haircut
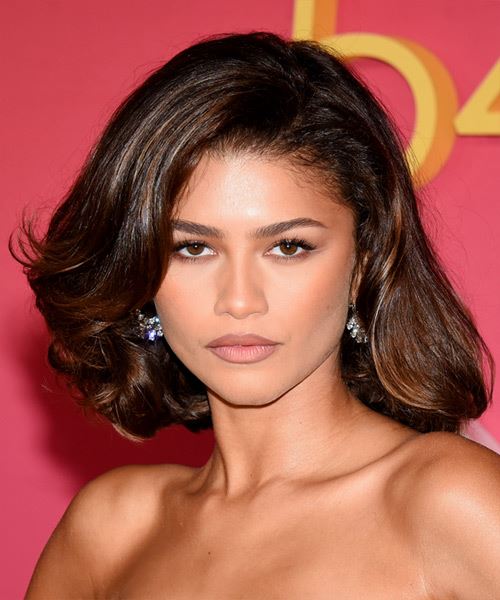
Image © MediaPunch
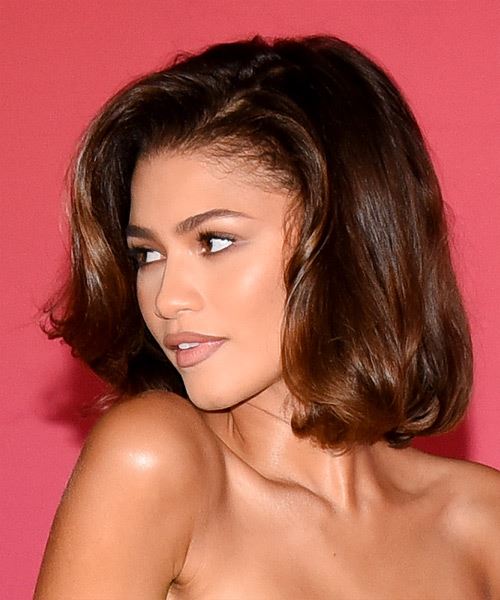
Image © MediaPunch
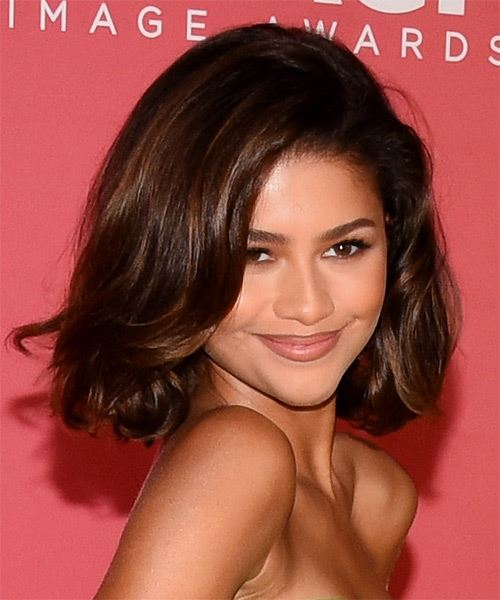
Image © MediaPunch
Visual Story
Hairstyle Suitability Rating:
Hairstyle Popularity Rating: ★★★★★
Hairstyle Popularity Rating: ★★★★★
Hairstyle Type
Category
Formal
Length
Medium
Elasticity
Wavy
Hair Color
Dark Brunette and Light Brunette Highlights
Haircut Technique
Type
Scissor Cut
Suitability
Gender
Women
Face Shape
oval,square,triangular
Hair Density
Medium/Thick
Hair Texture
Medium/Coarse
Age
21 - 30, 31 - 40, and 41 - 50
Height
Any
Weight
Thin/Average
Forehead Height
Short/Average
Neck Length
Long
Ears
Small/Average
Nose
Small/Average
Glasses
No
Styling
Time
30+ minutes
Products
hair spray
Tools
blow dry, curling iron

