Added:
04 Jun 2018
Scarlett Johansson has vamped up her short, layered hairstyle here with a fantastic shade of brunette and large, voluminous curls. She is looking fabulous here in a short layered 'do that is high on texture, volume and body. This hairstyle looks great on her triangular-shaped face but would also suit round, oval, square, heart, and triangular shaped faces as well. Scarlett has kept her curls in tact here for added volume and shape at the crown that shows off her stunning facial features.
Scarlett Johansson Brunette Pixie Haircut with Side Swept Bangs
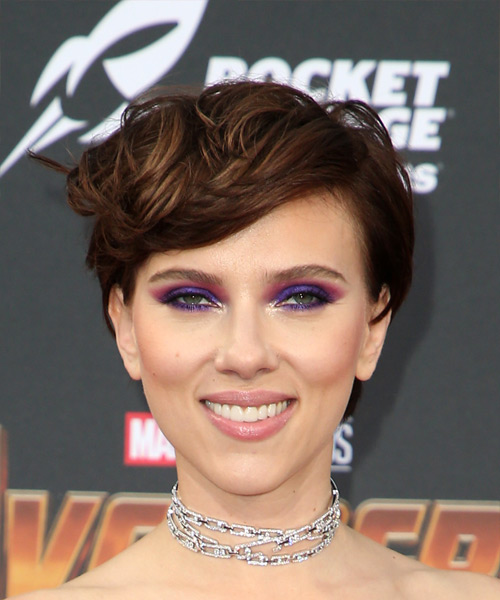
Image © MediaPunch
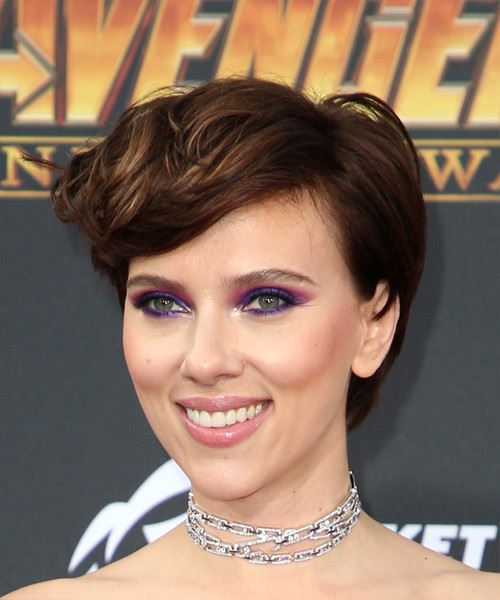
Image © MediaPunch
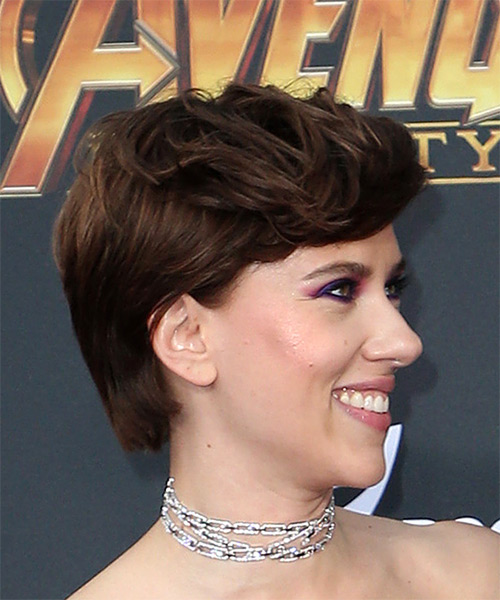
Image © MediaPunch
Hairstyle Suitability Rating:
Hairstyle Popularity Rating: ★★★★★
Hairstyle Popularity Rating: ★★★★★
Hairstyle Type
Category
Casual
Length
Short
Elasticity
Wavy
Hair Color
Brunette
Haircut Technique
Type
Clipper Cut
Suitability
Gender
Women
Face Shape
round,oval,square,heart,diamond,triangular
Hair Density
Medium
Hair Texture
Medium
Age
21 - 30, 31 - 40, 41 - 50, 51 - 60, and Over 60
Height
Any
Weight
Thin/Average/Large
Forehead Height
Short/Average
Glasses
Yes
Styling
Time
10 minutes
Products
mousse, wax, gel spray
Tools
blow dry, hot rollers

