Added:
31 Jan 2018
Our model's gorgeous layered Pixie haircut is ideal for fine hair and a variety of face shapes. This blonde Pixie is the ideal style for women who want to stay on top of trends and want a manageable look. Layered Pixie cuts are popular the same way they were in the 1950s and 60s, with celebrities like Twiggy, Brigitte Bardot, Lana Turner and Sophia Loren.
This Layered Pixie is a great hairstyle for those with short hair. The back and sides are tapered into the head, followed by layers added through the more extended top section. This layered pixie style looks wildly chic when styled to one side to keep your hair out of the way while exposing your face. This beautiful pixie cut is ideal for fine hair and various face shapes like oval, diamond, and triangular. It is a great look for someone who wants a soft, subtle look and is easy to pull off, especially with the bangs across the forehead and evenly parted to soften the face and complete the over-all 'do brilliantly. The waves are long enough to give it some texture but not so long that this does not work in the face of your hair too.
If you want to keep blonde hair looking great, then you need products for your hair. A leave-in conditioner or spray can help keep strands from getting overly dry and damaged. A layered Pixie is an easy style that will improve your look. No matter what your features are, some styles can make the look of your choice more attractive. Regular color treatments are also needed to keep this light blonde tone looking fresh.
Blonde Layered Pixie Haircut
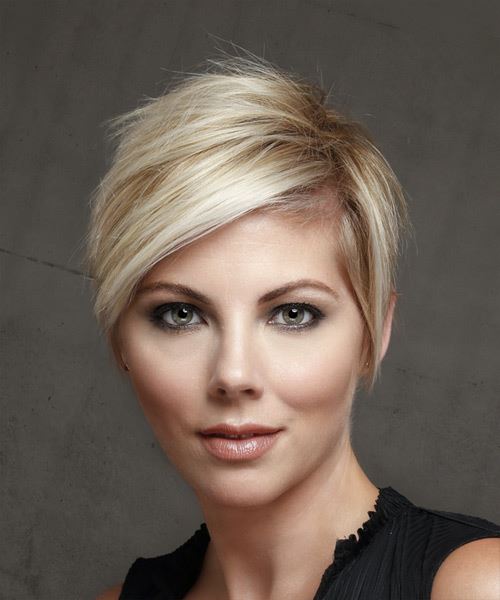
Image © TheHairStyler.com
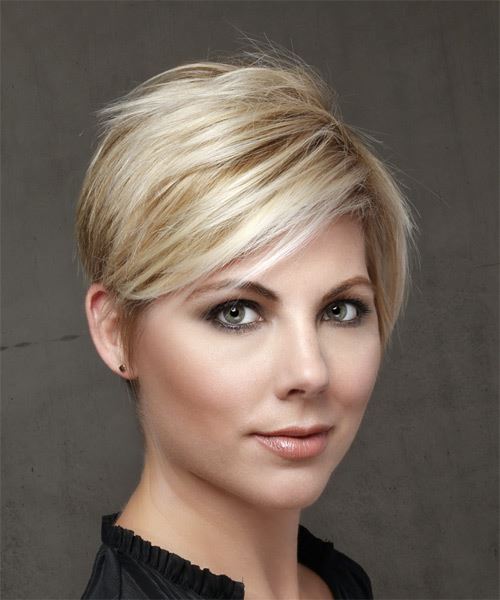
Image © TheHairStyler.com
Hairstyle Suitability Rating:
Hairstyle Popularity Rating: ★★★★★
Hairstyle Popularity Rating: ★★★★★
Hairstyle Type
Category
Casual
Length
Short
Elasticity
Straight
Hair Color
Light Blonde
Haircut Technique
Type
Clipper Cut
Suitability
Gender
Women
Face Shape
oval,diamond,triangular
Hair Density
Medium
Hair Texture
Fine
Age
21 - 30, 31 - 40, 41 - 50, 51 - 60, and Over 60
Height
Any
Weight
Thin/Average
Forehead Height
Short/Average
Glasses
Yes
Styling
Time
10 minutes
Tip
Pinch and scrunch the roots with wax to get more volume in the crown.
Products
gel spray, wax
Tools
blow dry

