Added:
10 Nov 2010
This sassy Pixie Haircut has plenty of body and height and is a short stylish hairstyle for women who would like a trendy change to their hairstyle. This haircut is just perfect for those of us who want to be different from the rest but at the same time want to get a fabulous makeover. It is simple, cute and easy to do.
The Pixie haircut one of the best styles for short hair. This Pixie haircut with body, height and texture gives you an impression of a sophisticated and rebellious woman with a more approachable personality. It is a sassy Pixie haircut with plenty of dazzling layers to create body and height through the backup to the crown. The sides are also jagged cut for a soft finish to the edges blending into the sexy layers which frame the face. Regular trimming after 4 to 6 weeks allows you to maintain this hairstyle in shape. If you are frequently on the go and need a quick haircut for your busy lifestyle, then this is a perfect style is for you.
Sassy Pixie Haircut With Body And Height
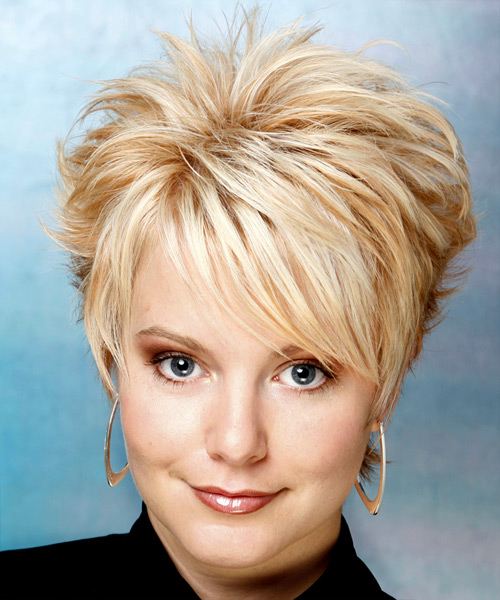
Image © TheHairStyler.com
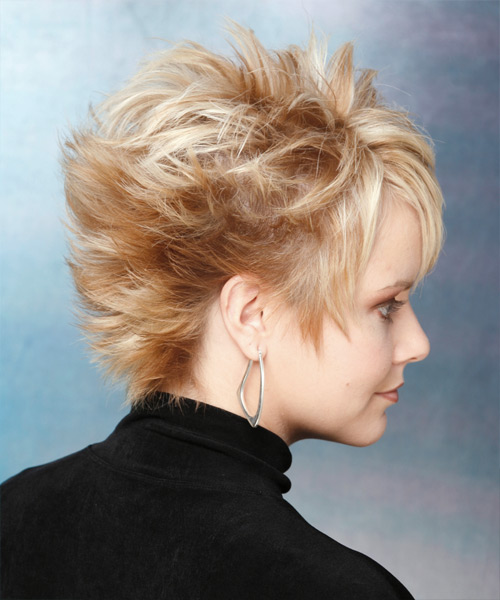
Image © TheHairStyler.com
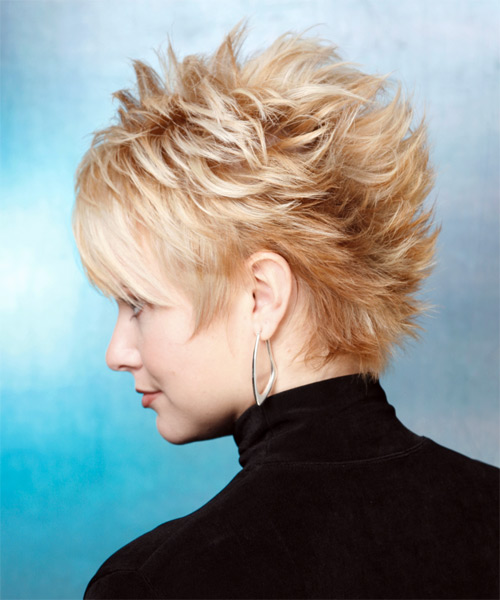
Image © TheHairStyler.com
Hairstyle Suitability Rating:
Hairstyle Popularity Rating: ★★★★★
Hairstyle Popularity Rating: ★★★★★
Hairstyle Type
Category
Alternative
Length
Short
Elasticity
Straight
Hair Color
Light Golden Blonde
Haircut Technique
Type
Razor Cut
Suitability
Gender
Women
Face Shape
round,oval,square,heart,triangular
Hair Density
Thin/Medium
Hair Texture
Fine/Medium
Age
Under 21, 21 - 30, 31 - 40, and 41 - 50
Height
Any
Weight
Thin/Average/Large
Forehead Height
Short/Average
Neck Length
Short/Average
Ears
Small/Average
Nose
Small/Average
Glasses
No
Styling
Time
30 minutes
Tip
Fluff the styling products into the ends of your hair and pinch as you go to create textured edges.
Products
mousse, moulding cream, smoothing shine, lacquer
Tools
blow dry

