Added:
30 Jul 2018
Kris Jenner looks radiant here in a longer version of a pixie cut that has a grown out feel to it. Her hairstyle is ideal for medium to thick hair and will work for a variety of face shapes. The back and sides of this hairstyle are tapered into the head with layers added through the longer top that is then styled off the face for a chic look and feel. Product is needed to keep this hairstyle in place after blow-styling. Kris' rich chocolate hair color will also need regular touch ups to keep it looking vibrant.
Kris Jenner Brunette Pixie Haircut
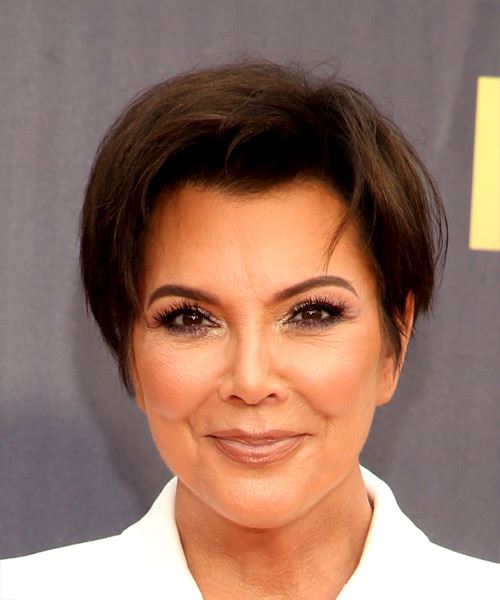
Image © MediaPunch
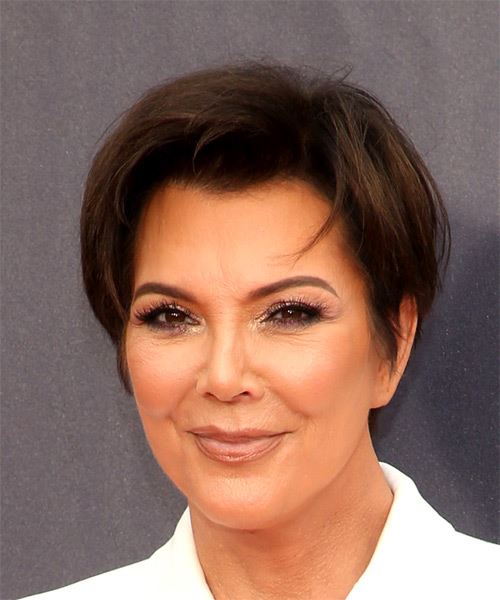
Image © MediaPunch

Image © MediaPunch
Hairstyle Suitability Rating:
Hairstyle Popularity Rating: ★★★★★
Hairstyle Popularity Rating: ★★★★★
Hairstyle Type
Category
Casual
Length
Short
Elasticity
Straight
Hair Color
Brunette
Haircut Technique
Type
Clipper Cut
Suitability
Gender
Women
Face Shape
oval,oblong,diamond,triangular
Hair Density
Medium
Hair Texture
Medium
Age
31 - 40, 41 - 50, 51 - 60, and Over 60
Height
Any
Weight
Thin/Average/Large
Forehead Height
Short/Average
Glasses
Yes
Styling
Time
20 minutes
Products
mousse, moulding cream
Tools
finger dry, blow dry

