Added:
25 Apr 2022
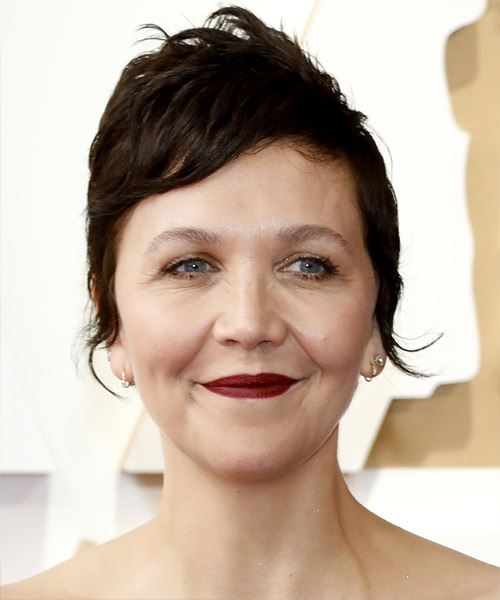
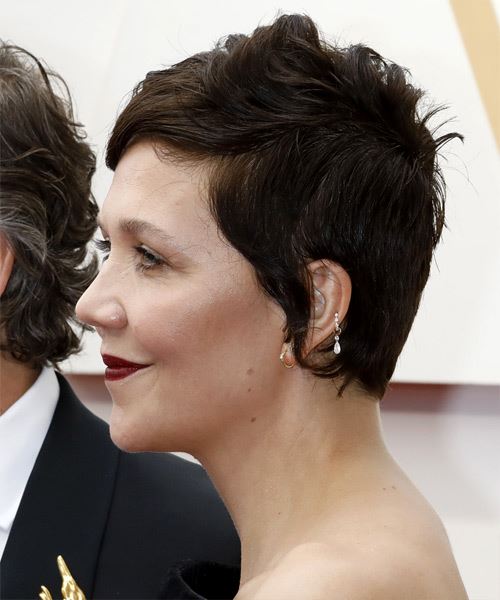
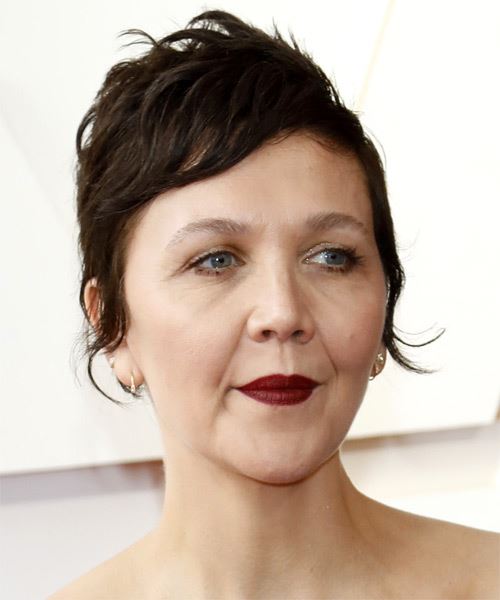
Some can argue that Maggie Gyllenhaal is the queen of the Pixie cut, and this hairstyle shows us why she is the queen. Almost all pixie hairstyles look fantastic on oval, square, and heart-shaped faces. This particular style complements round face shapes by providing angles that visually soften the roundness of your face. This cut will elongate it even more if you have a long face. Maggie has taken the sides of her pixie cut and twisted them to give this look an exciting new feature that frames her face and softens the edges of her face shape. This is such an easy styling tool for you to do and adds a fun new element to your look. She has flicked the top of her hair to the side, which creates the illusion that her hair is fuller. It also adds some length to the top of her hair, which elongates her face.
When it comes to your makeup application, you can follow in Maggie's footsteps and go for a more subtle makeup application and add a bold lip to give your look a feature that draws everyone's attention. Do not forget to highlight and contour your face and neck area. This will help you create the illusion of a perfect oval face shape, and you are ready for your event!
Maggie Gyllenhaal Black Pixie Haircut
Images © MediaPunch/TheHairStyler.com
Images © MediaPunch/TheHairStyler.com
Images © MediaPunch/TheHairStyler.com
Visual Story
Hairstyle Suitability Rating:
Hairstyle Popularity Rating: ★★★★★
Hairstyle Popularity Rating: ★★★★★
Hairstyle Type
Category
Formal
Length
Short
Elasticity
Straight
Hair Color
Black
Haircut Technique
Type
Scissor Cut
Suitability
Gender
Women
Face Shape
round,oval,square,heart,triangular
Hair Density
Medium/Thick
Hair Texture
Medium/Coarse
Age
21 - 30, 31 - 40, 41 - 50, 51 - 60, and Over 60
Height
Any
Weight
Thin/Average
Forehead Height
Short/Average
Neck Length
Long
Ears
Small/Average
Nose
Small/Average
Glasses
No
Styling
Time
20 minutes
Products
gel
Tools
blow dry

