Added:
10 Nov 2010
This sassy style is perfect for any occasion and is well suited for those with fine hair who are after a look with plenty of body through the top.
The Back: layers have been sliced through the back to create shape and to achieve wispy ends.
The Sides: the layers have been started from mid face and blended down to sit around the face.
Long Curly Brunette Hairstyle
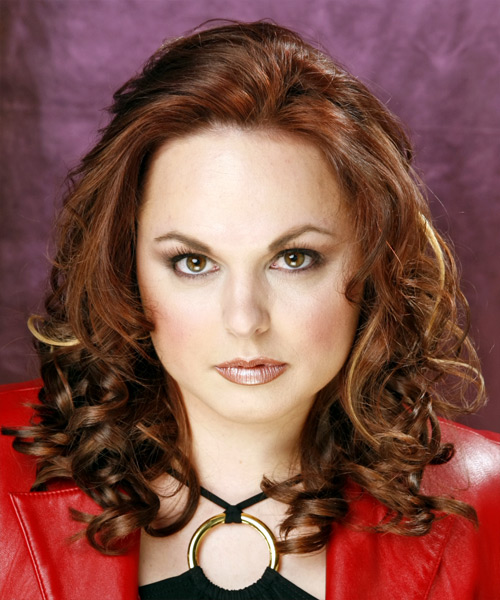
Image © TheHairStyler.com
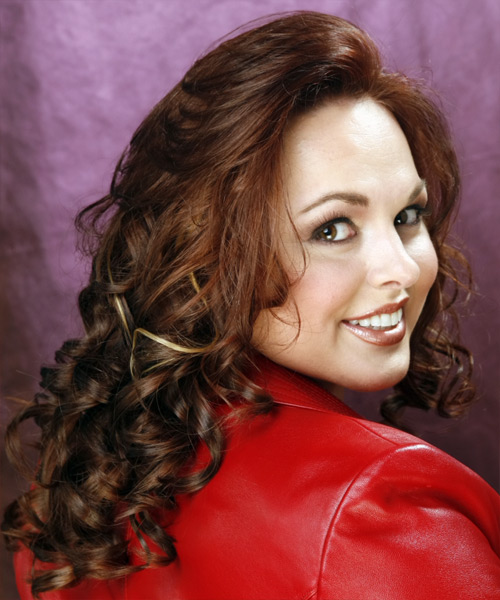
Image © TheHairStyler.com
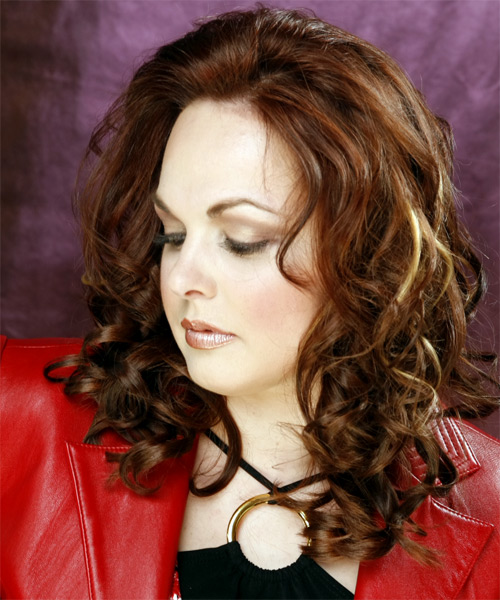
Image © TheHairStyler.com
Hairstyle Suitability Rating:
Hairstyle Popularity Rating: ★★★★★
Hairstyle Popularity Rating: ★★★★★
Hairstyle Type
Category
Formal
Length
Long
Elasticity
Curly
Hair Color
Brunette
Haircut Technique
Type
Suitability
Gender
Women
Face Shape
round,oval,square,heart,triangular
Hair Density
Thin/Medium
Hair Texture
Fine/Medium
Age
Under 21, 21 - 30, 31 - 40, and 41 - 50
Height
Any
Weight
Thin/Average/Large
Forehead Height
Short/Average
Neck Length
Short/Average
Ears
Small/Average
Nose
Small/Average
Glasses
Yes
Styling
Time
30+ minutes
Tip
Use your finishing products to smooth down the ends and direct your hair into place.
Products
mousse, wax, hair spray
Tools
blow dry, hot rollers

