Added:
30 Oct 2017
The back and sides of this short simple Shag Bob haircut are tapered into the head, with the front having many fine layers to soften the face. The shape of this hairstyle is perfect to complement a diamond face shape and needs only a small amount of product for hold and shine, along with some backcombing for height and volume.
Our model looks stylish here in a short and chic Shag bob that is perfect for trendy women on the go. This is an easy-to-style 'do that is ideal for women who like short hair but want to maintain a youthful sense of style. Our model has a diamond face shape with dainty features, making her suited to short and sculpted hairstyles like this one. The deep side-parted fringe works well with her forehead and the tapered ends create a nice frame for her face. The many layers and backcombing help our model to add volume at the crown and pump up the volume in her fine hair.
Our model has a cool, fair complexion and light blue eyes. This makes her suited to icy white and light beige blondes the best. Here, she has gone for a shade on the light end of the spectrum with this Nordic white blonde. Subtle violet panels of color have been added at the front. This looks gorgeous with her skin tone and brings out her large blue eyes, and also flatters her baby fine hair. Regular toning treatments are needed to keep this color looking silvery and cool. This Bob cut and color combo is ideal for ladies who want to play up their fair features and maximize fine or medium hair.
Short And Chic Shaggy Bob Haircut
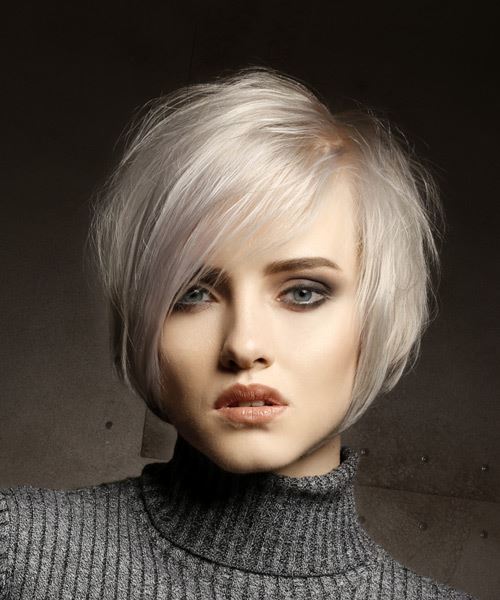
Image © TheHairStyler.com
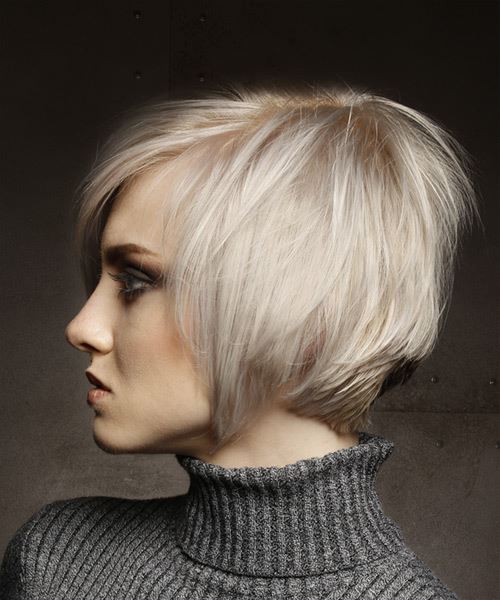
Image © TheHairStyler.com
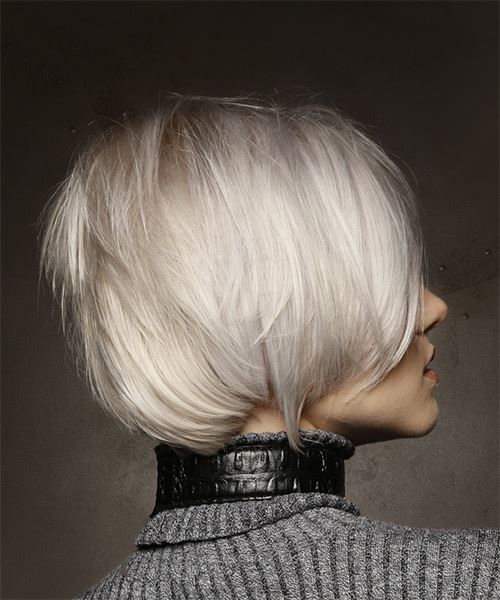
Image © TheHairStyler.com
Visual Story
Hairstyle Suitability Rating:
Hairstyle Popularity Rating: ★★★★★
Hairstyle Popularity Rating: ★★★★★
Hairstyle Type
Category
Casual
Length
Short
Elasticity
Straight
Hair Color
Light Platinum Blonde
Haircut Technique
Type
Scissor Cut
Suitability
Gender
Women
Face Shape
oval,heart,diamond,triangular
Hair Density
Medium
Hair Texture
Fine
Age
21 - 30, 31 - 40, 41 - 50, 51 - 60, and Over 60
Height
Any
Weight
Thin/Average/Large
Forehead Height
Short/Average
Glasses
Yes
Styling
Time
10 minutes
Tip
Backcomb the roots for extra volume after styling.
Products
gel spray, moulding cream, hair spray
Tools
blow dry

