Added:
18 Jun 2018
Big curls are added to the sides and back of Alessandra Ambrosio's 'do to give her look movement and subtle shape. The deep side part and flipped over fringe adds a vintage Hollywood flair as well. This formal 'do is easy to re-create with the right tools and needs product to tame fly-away hair. Regular trims will also help maintain a healthy look and feel by preventing split ends.
Alessandra Ambrosio Long Wavy Brunette Hairstyle
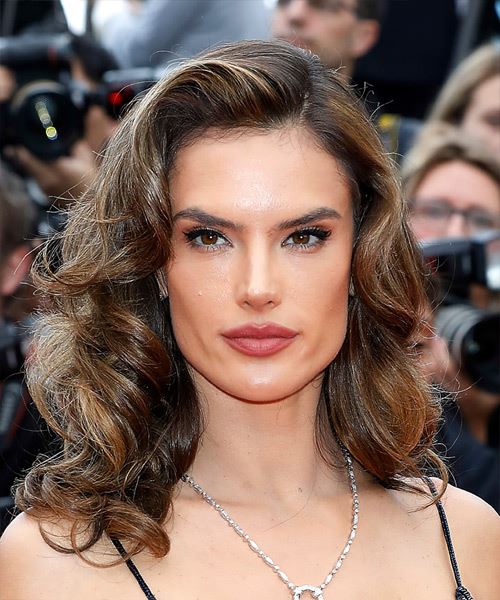
Image © MediaPunch
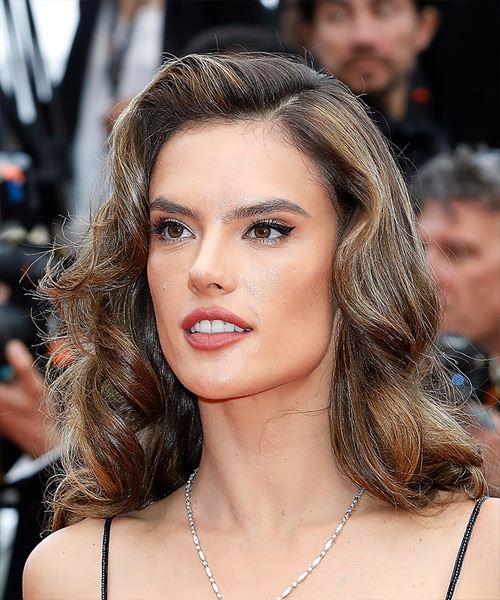
Image © MediaPunch
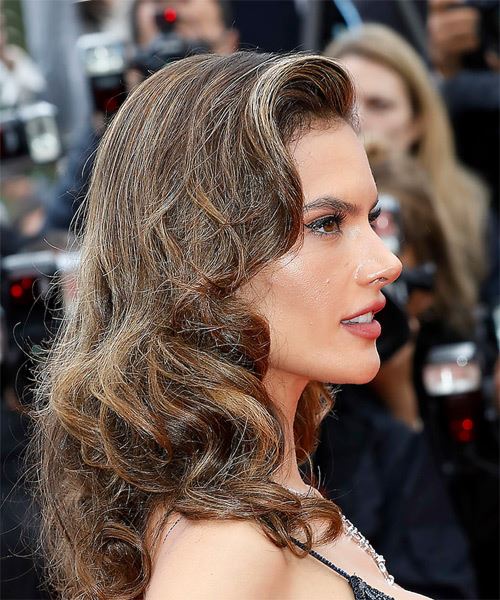
Image © MediaPunch
Hairstyle Suitability Rating:
Hairstyle Popularity Rating: ★★★★★
Hairstyle Popularity Rating: ★★★★★
Hairstyle Type
Category
Casual
Length
Long
Elasticity
Wavy
Hair Color
Brunette
Haircut Technique
Type
Scissor Cut
Suitability
Gender
Women
Face Shape
round,oval,oblong,square,heart,diamond,triangular
Hair Density
Medium
Hair Texture
Medium
Age
21 - 30, 31 - 40, 41 - 50, and 51 - 60
Height
Any
Weight
Thin/Average/Large
Forehead Height
Short/Average
Glasses
No
Styling
Time
30 minutes
Products
mousse, moulding cream, lacquer
Tools
blow dry, hot rollers

