Added:
12 Aug 2009
Beyonce goes natural! Longer layers have been cut throughout this sexy singer's hair to reduce hair volume and add shape around her face. This is an easy look to maintain with regular trims.
Beyonce Knowles Long Curly Chestnut Brunette and Dark Brunette Two-Tone Hairstyle
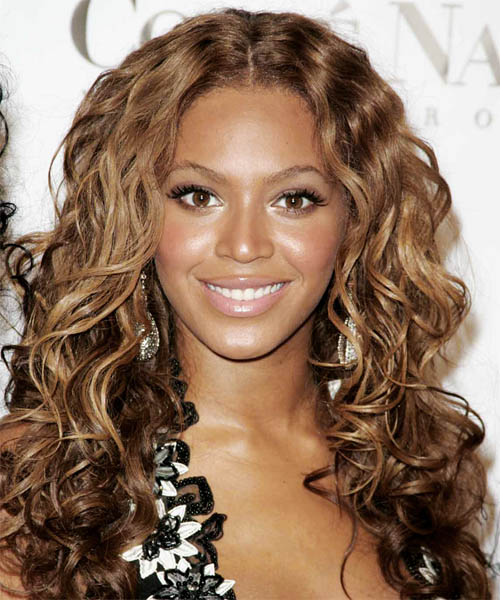
Image © MediaPunch
Hairstyle Suitability Rating:
Hairstyle Popularity Rating: ★★★★★
Hairstyle Popularity Rating: ★★★★★
Hairstyle Type
Category
Casual
Length
Long
Elasticity
Curly
Hair Color
Chestnut Brunette and Dark Brunette Two-Tone
Haircut Technique
Type
Scissor Cut
Suitability
Gender
Women
Face Shape
oval,oblong,square,diamond
Hair Density
Medium/Thick
Hair Texture
Medium/Coarse
Age
Under 21, 21 - 30, 31 - 40, and 41 - 50
Height
Any
Weight
Thin/Average/Large
Forehead Height
Short/Average
Neck Length
Short/Average
Ears
Small/Average
Nose
Small/Average
Glasses
Yes
Styling
Time
20 minutes
Tip
Use your wax to define your curls and your hairspray for extra hold.
Products
moisturizer, sculpture lotion, wax, smoothing shine, hair spray
Tools
blow dry, hot rollers

