Added:
10 Mar 2011
Wicked and wild is the main aim for this hairdo. The layers cut around the back and sides encourage the bounce and movement of the waves added for shape and body. The front and top is left straight for contrast and completes the over-all style brilliantly.
Medium Wavy Copper Brunette Hairstyle

Image © TheHairStyler.com
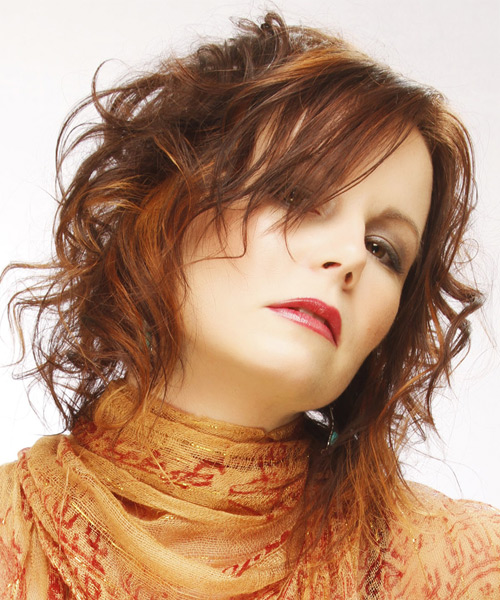
Image © TheHairStyler.com
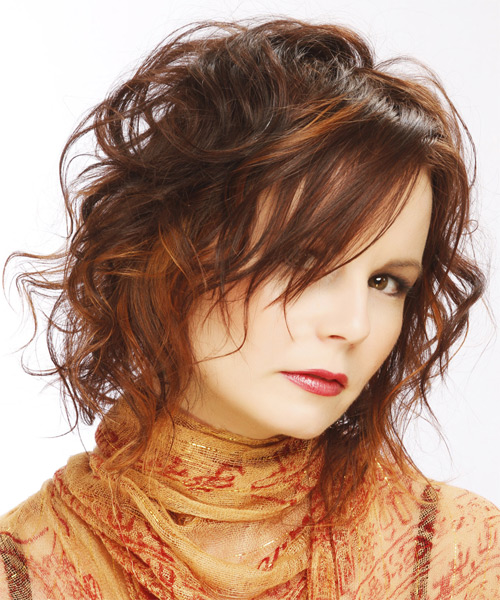
Image © TheHairStyler.com
Hairstyle Suitability Rating:
Hairstyle Popularity Rating: ★★★★★
Hairstyle Popularity Rating: ★★★★★
Hairstyle Type
Category
Alternative
Length
Medium
Elasticity
Wavy
Hair Color
Copper Brunette
Haircut Technique
Type
Suitability
Gender
Women
Face Shape
oval,oblong,square,diamond
Hair Density
Thin/Medium
Hair Texture
Fine/Medium
Age
Under 21, 21 - 30, 31 - 40, and 41 - 50
Height
Any
Weight
Thin/Average/Large
Forehead Height
Short/Average
Neck Length
Short/Average
Ears
Small/Average
Nose
Small/Average
Glasses
No
Styling
Time
30 minutes
Tip
Fluff the styling products into the ends of your hair and pinch as you go to create textured edges.
Products
mousse, wax, smoothing shine, hair spray
Tools
finger dry, curling iron, straightening iron

