Added:
02 Jan 2018
Women with thick hair often look for ways to keep their hair looking thicker and fuller. It is not just ideal for the ladies who have thick hair but also for those women who have thin hair and wish it was thicker. This voluminous side-swept longer Pixie haircut would be an ideal choice to add volume to your new haircut.
In this hairstyle, you can use Pixie layers to create a side-swept look with the back tapered in. The sides are left longer with the ends flicked out. The back is tapered so that it curves at the bottom and then tapers to the sides, giving a flattering shape to your face. This voluminous Pixie is one of the hottest hairstyles for oval-shaped faces because it brings out all the best features of your look down to a tee. This hairstyle suits ladies with oblong face shapes too. The hair is swept sideways from ear level and cascades to the side before settling long in the back. It would be best if you took good care of your hairstyle to keep it in shape. It is normal to go for a haircut after some time. Different factors like weather, work, lifestyle, etc., could change our hairstyles and make them look messy. If you have a voluminous Pixie like this, you need regular trims to ensure that the hairstyle stays healthy and beautiful.
Voluminous Side-Swept Longer Pixie Haircut
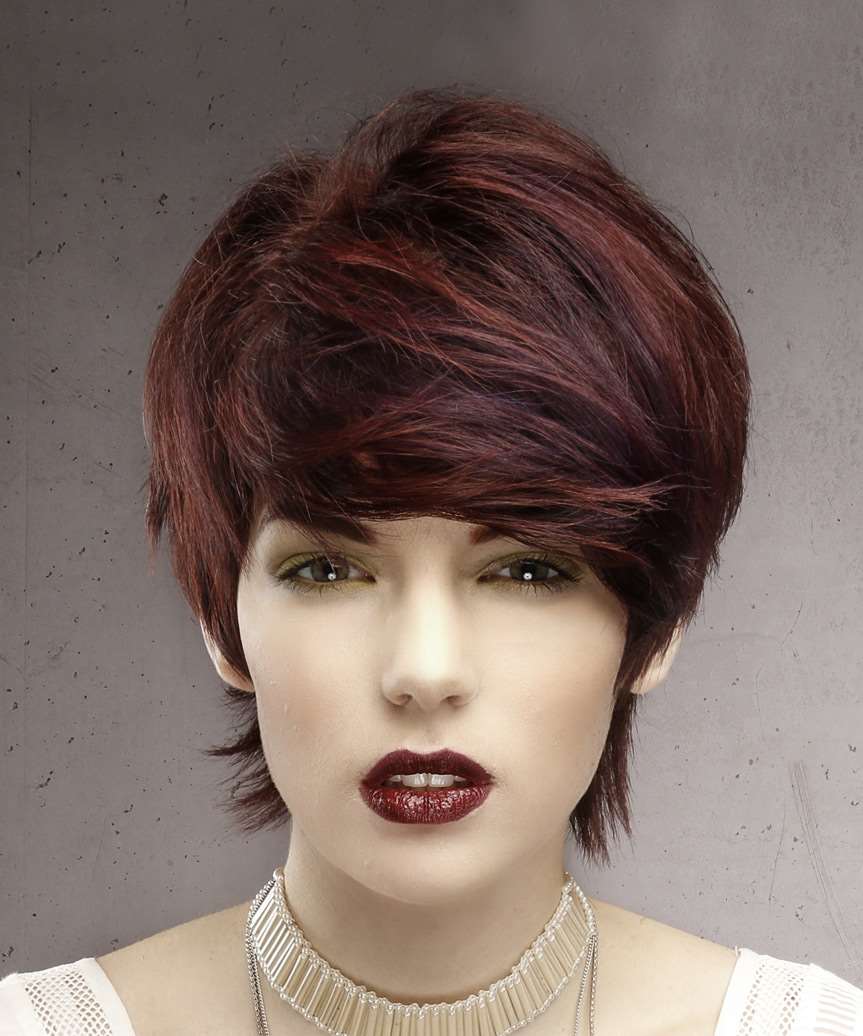
Image © TheHairStyler.com
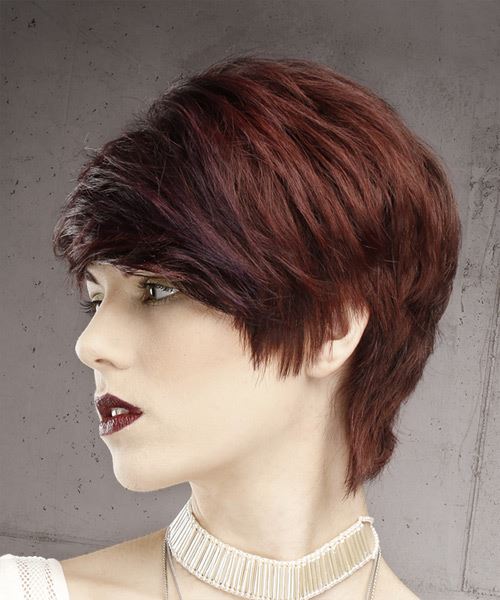
Image © TheHairStyler.com
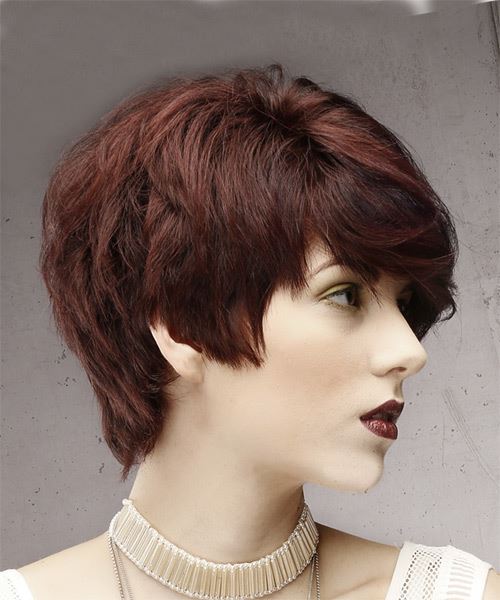
Image © TheHairStyler.com
Visual Story
Hairstyle Suitability Rating:
Hairstyle Popularity Rating: ★★★★★
Hairstyle Popularity Rating: ★★★★★
Hairstyle Type
Category
Formal
Length
Short
Elasticity
Straight
Hair Color
Dark Red
Haircut Technique
Type
Scissor Cut
Suitability
Gender
Women
Face Shape
oval,oblong,diamond,triangular
Hair Density
Thick
Hair Texture
Medium
Age
21 - 30, 31 - 40, 41 - 50, 51 - 60, and Over 60
Height
Any
Weight
Thin/Average/Large
Forehead Height
Short/Average
Glasses
No
Styling
Time
10 minutes
Tip
Flick the ends out with gel wax to finish this look.
Products
mousse, gel wax, hair spray
Tools
blow dry

