Added:
11 Nov 2010
This voluminous straight bob haircut features a highlighted, full and sleek 'do with subtle layering, and is perfect for any occasion with its versatility and uncomplicated silhouette.
Our model embraces this hairstyle with cherry-red lips and light blonde highlights. Wrinkles compliment her honey-hued eyes with a side-swept bang and a voluminous look on top of her head. This funked-up bob haircut features sexy layers to create fullness, shape and bangs to update the style. For the hair styling, the back has been graduated from the hairline for a clean finish at the nape, and the layers have been taken up to the crown with the edges concave down at an angle. The side layers have been cut to sit above the jawline and blended up to the textured layers through the top, which gives this style plenty of body and volume. This dedicated haircut is an excellent choice for any face shape, and it is mainly suitable for oval, oblong, square, and diamond face shapes, with fine to medium hair texture. The highlighted straight bob, from the mid-length to the natural ends, showcases and prettifies the best parts of the face with a timeless shape that continues to look good on any occasion.
For a perfect hairstyle, make sure you choose a haircut suitable for your face shape and desired length for best results. This hairstyle is best maintained with regular trims every 4 to 6 weeks. Using the wax, piece out sections with your fingertips to achieve this look.
Voluminous Highlighted Straight Bob Haircut
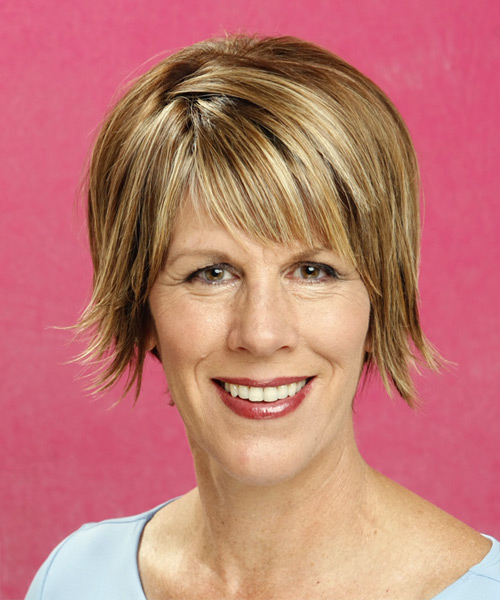
Image © TheHairStyler.com
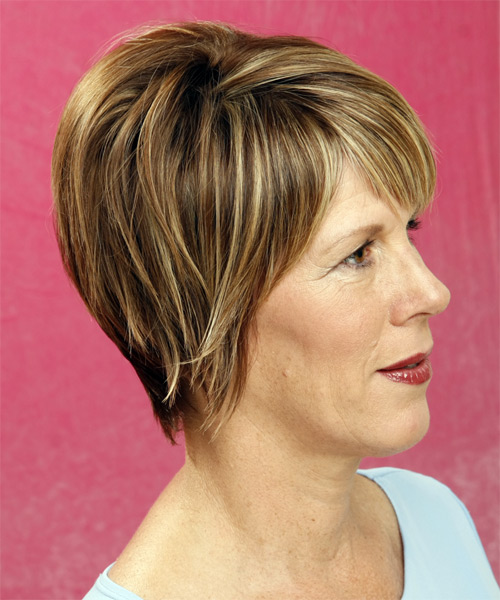
Image © TheHairStyler.com
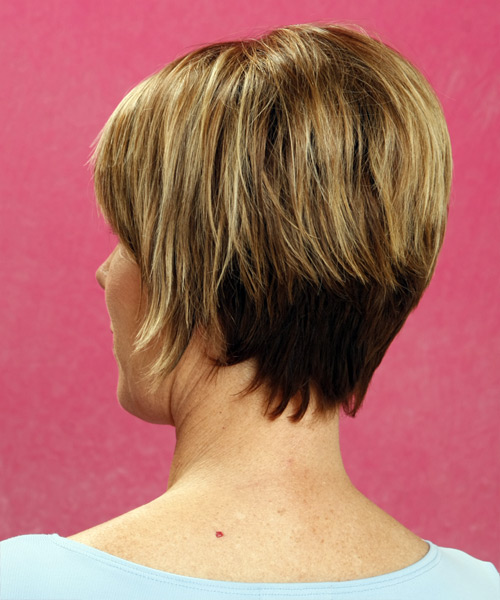
Image © TheHairStyler.com
Hairstyle Suitability Rating:
Hairstyle Popularity Rating: ★★★★★
Hairstyle Popularity Rating: ★★★★★
Hairstyle Type
Category
Formal
Length
Short
Elasticity
Straight
Hair Color
Dark Blonde and Light Blonde Highlights
Haircut Technique
Type
Scissor Cut
Suitability
Gender
Women
Face Shape
oval,oblong,square,diamond,triangular
Hair Density
Thin/Medium
Hair Texture
Fine/Medium
Age
Under 21, 21 - 30, 31 - 40, and 41 - 50
Height
Any
Weight
Thin/Average/Large
Forehead Height
Short/Average
Neck Length
Short/Average
Ears
Small/Average
Nose
Small/Average
Glasses
No
Styling
Time
30+ minutes
Tip
Using the wax, piece out sections with your fingertips to achieve this look.
Products
straightening, wax, smoothing shine, hair spray
Tools
blow dry

