Added:
13 Nov 2017
This subtly flicked out bob is blow-waved perfectly to smooth down the top while turning the ends slightly out for a fabulous finish. The grown out bangs are worn swept across the forehead to frame the eyes and complete the overall look brilliantly. Regular trims are needed to maintain this hairstyle.
Our model looks flawless here in a chic and timeless bob haircut with a graduated cut and flicked out ends. This cut is ideal for showing off her dainty facial features, especially her eyes and mouth. It also works well with her oval face shape. The side-swept grown out bangs provides her face with a nice cascading look while the rest of her hair maintains a smooth, sculpted shape that flicks to one side. The layered ends give her locks a healthy looking appearance and keeps her hair full of movement. This 'do has lots of dimension to it and works with both casual and formal attire making it ideal for work and play.
This stylish cut is highlighted by our model's gorgeous dark blonde-brown or "bronde" color with subtle blonde highlights and brunette lowlights throughout. Having an olive skin tone and dark eyes/eyebrows, this hair color is ideal for her coloring and brings out her best features, although she could pull off various brunette tones as well. To keep the color looking fresh, regular touch ups are needed to keep it from fading and/or becoming too brassy.
Short Bob Haircut With Subtly Flicked Out Ends
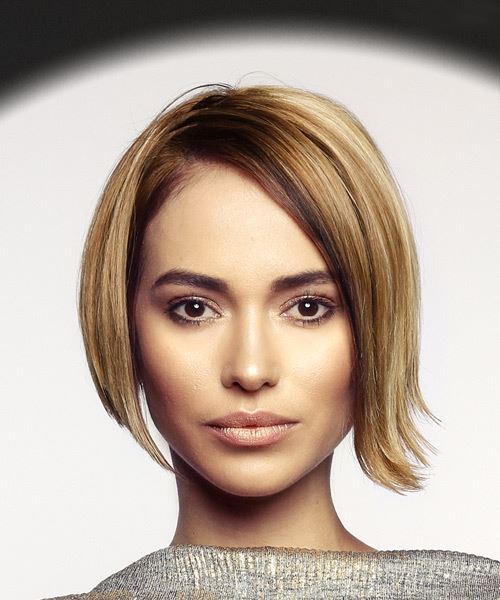
Image © TheHairStyler.com
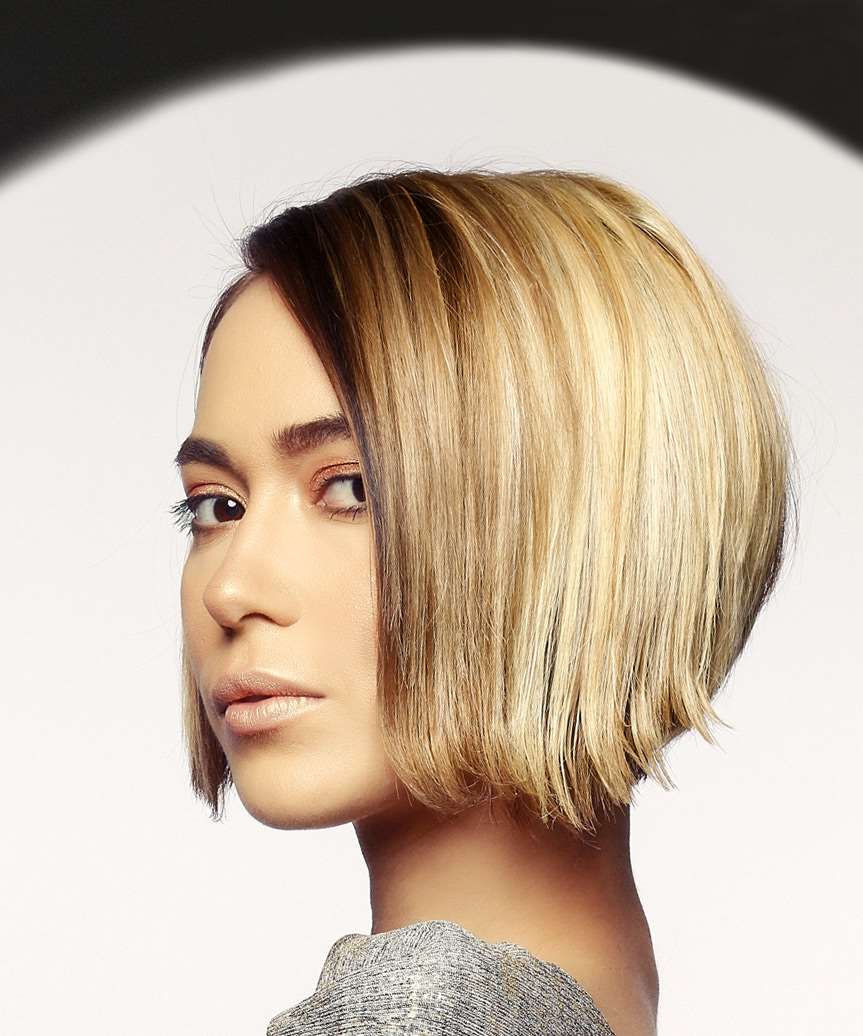
Image © TheHairStyler.com
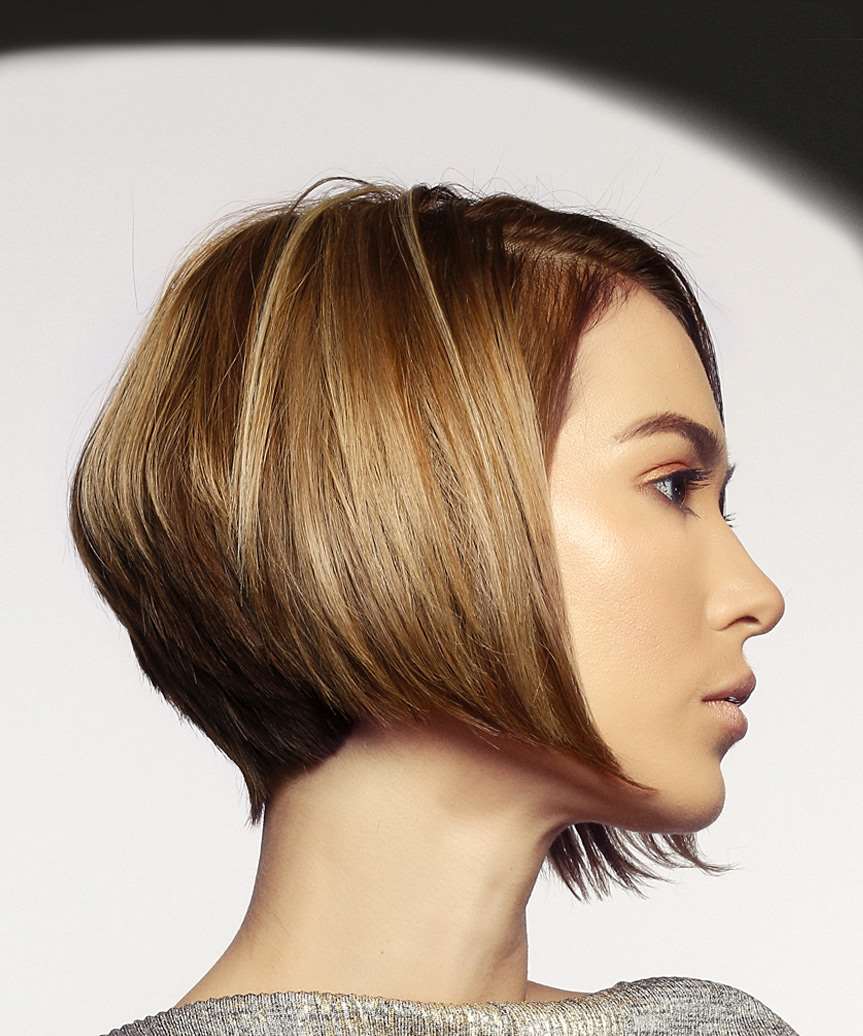
Image © TheHairStyler.com
Visual Story
Hairstyle Suitability Rating:
Hairstyle Popularity Rating: ★★★★★
Hairstyle Popularity Rating: ★★★★★
Hairstyle Type
Category
Casual
Length
Short
Elasticity
Straight
Hair Color
Dark Blonde
Haircut Technique
Type
Scissor Cut
Suitability
Gender
Women
Face Shape
oval,square,heart,diamond,triangular
Hair Density
Medium
Hair Texture
Medium
Age
Under 21, 21 - 30, 31 - 40, and 41 - 50
Height
Any
Weight
Thin/Average
Forehead Height
Short/Average
Glasses
Yes
Styling
Time
20 minutes
Tip
Use a small round brush to blow-dry and flick the ends out.
Products
mousse, wax, hair spray
Tools
blow dry

