Added:
11 Dec 2016
Soft waves are added to the sides and back of this layered 'do to give this look movement and subtle shape. This casual 'do is easy to re-create with the right tools and needs product to tame fly-away hair. Regular trims will also help maintain a healthy look and feel by preventing split ends.
Emma Bunton has delicate and expressive facial features and a strong bone structure, which is nicely highlighted by her soft wavy tresses here. Having a square face shape, Emma has a wide, broad forehead to contend with as well as a more horizontal shape to her face. Voluminous hairstyles that have lots of body and volume around the jaw and neck area are ideal for her as they balance out her face shape the best. This simple wavy 'do does just that for Emma, while the blunt ends give her fine hair a thicker appearance. She would look great in bangs as it would give her broad forehead some coverage, however the grown out fringe is working well for her too.
Emma has a warm skin tone, blue eyes and naturally blonde hair. Here, she goes for her signature look, a light golden blonde tone all over. This color brightens up her complexion and gives her an all-over warm glow. Plus it makes her blue eyes sparkle even more.
Emma Bunton is an English singer-songwriter, actress, and television presenter. She is best known as a member of the girl group the Spice Girls formed in the 1990s.
Emma Bunton Long Wavy Light Blonde Hairstyle
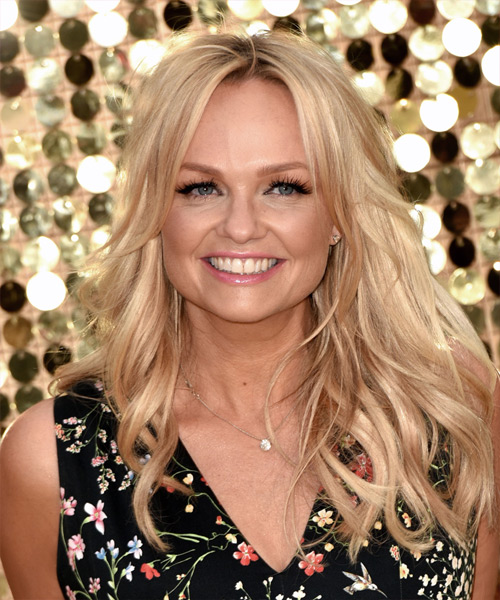
Image © MediaPunch
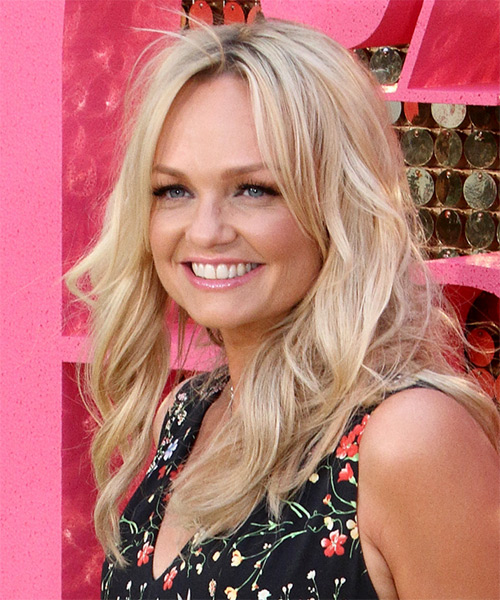
Image © MediaPunch
Hairstyle Suitability Rating:
Hairstyle Popularity Rating: ★★★★★
Hairstyle Popularity Rating: ★★★★★
Hairstyle Type
Category
Formal
Length
Long
Elasticity
Wavy
Hair Color
Light Blonde
Haircut Technique
Type
Scissor Cut
Suitability
Gender
Women
Face Shape
oval,square,heart,diamond,triangular
Hair Density
Medium
Hair Texture
Fine
Age
Under 21, 21 - 30, 31 - 40, 41 - 50, and 51 - 60
Height
Any
Weight
Thin/Average/Large
Forehead Height
Long
Glasses
Yes
Styling
Time
20 minutes
Tip
Use a large barreled curling iron to create these windblown waves in straight hair.
Products
mousse, gel wax, moulding cream
Tools
blow dry, velcro rollers

