Added:
19 Mar 2018
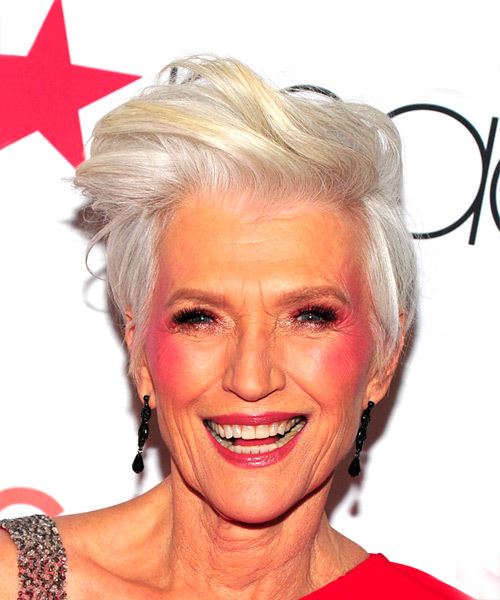
The sides of Maye Musk's head turning 'do are cut short and close to the head while the top is left long enough to backcomb and style up for maximum height and lift. This hairstyle is perfect for ladies with an oblong, oval or diamond shaped face and who have fine to medium-thick hair. Strong hold product is needed to keep this look in place all day and night and regular trims will help maintain healthy ends. The gorgeous silver color can be maintained by using a blue or purple shampoo especially for silver hair.
Maye Musk is a Canadian-South African model and dietitian. Also the mother of Elon Musk, Kimbal Musk, and Tosca Musk, she has been a model for 50 years appearing on the covers of magazines including Time.
Maye Musk Light Grey Pixie Haircut
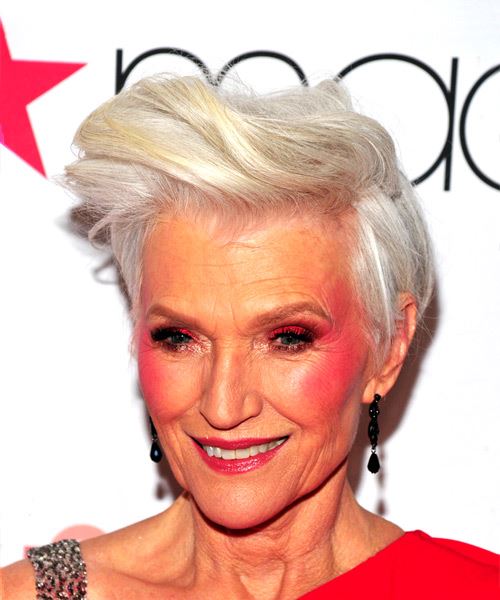
Images © MediaPunch/TheHairStyler.com
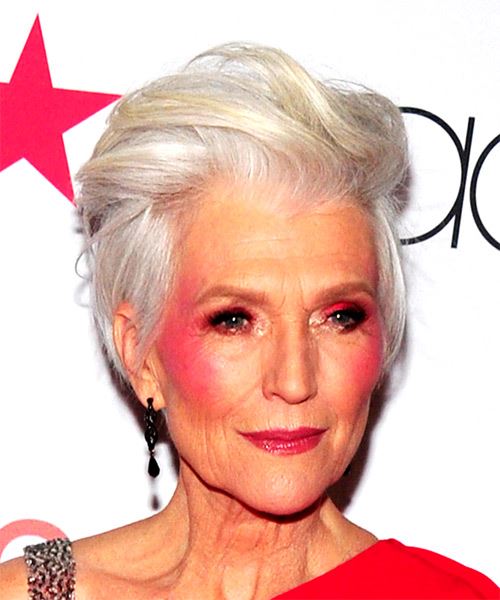
Images © MediaPunch/TheHairStyler.com
Images © MediaPunch/TheHairStyler.com
Hairstyle Suitability Rating:
Hairstyle Popularity Rating: ★★★★★
Hairstyle Popularity Rating: ★★★★★
Hairstyle Type
Category
Casual
Length
Short
Elasticity
Straight
Hair Color
Light Grey
Haircut Technique
Type
Clipper Cut
Suitability
Gender
Women
Face Shape
oval,oblong,diamond,triangular
Hair Density
Medium
Hair Texture
Fine
Age
Under 21, 21 - 30, 31 - 40, 41 - 50, 51 - 60, and Over 60
Height
Any
Weight
Thin/Average
Forehead Height
Short/Average
Glasses
Yes
Styling
Time
10 minutes
Tip
Backcomb the roots and hold in place with a string hold root spritz.
Products
mousse, wax, lacquer
Tools
blow dry, hot rollers

