Added:
19 Nov 2017
The sides and back of this short and funky 'do are tapered into the head while the top is jagged cut for a textured look and feel all over. The bangs are swept over to the side to soften the face and completes the over-all hairstyle brilliantly. Regular trims are needed every 4-6 weeks to maintain this shape.
Jamie Lee Curtis is working a jagged Pixie haircut here with fabulous results. This jagged cut 'do is ideal for ladies like Jamie who have petite facial features and a strong bone structure, and who like to flaunt a stylish and edgy 'do. Jamie has an angular jaw line which benefits from short styles like this one that bring the focus upwards. Her fine hair type works well with this 'do too as the layers add texture and body all over, and it gives her high forehead some coverage at the side while framing her eyes. For ladies who like a stylish 'do with minimal styling time and fashion-forward results, this spiky pixie cut is an excellent option.
Jamie has a medium skin tone that has some pink undertones to it, and light blue eyes. She is best suited to cool blonde and brown tones that warm up her skin tone and bring out her eye color, but this sleek grey tone works just as well to flatter her features. This silver shade compliments Jamie's look beautifully, plus it gives her hair a rich, healthy-looking finish. Blue or purple shampoo is recommended for men and women with grey/silver hair, to keep it looking fresh and bright.
Jamie Lee Curtis, Lady Haden-Guest is an American actress and author. She made her film debut in 1978 by starring as Laurie Strode in John Carpenter's Halloween.
Jamie Lee Curtis Light Grey Pixie Haircut
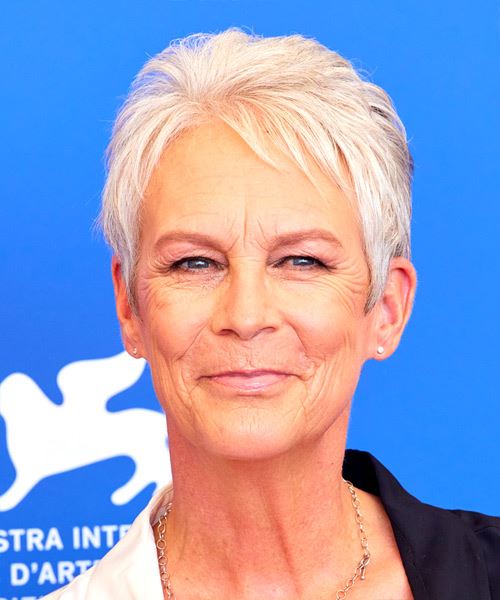
Image © MediaPunch
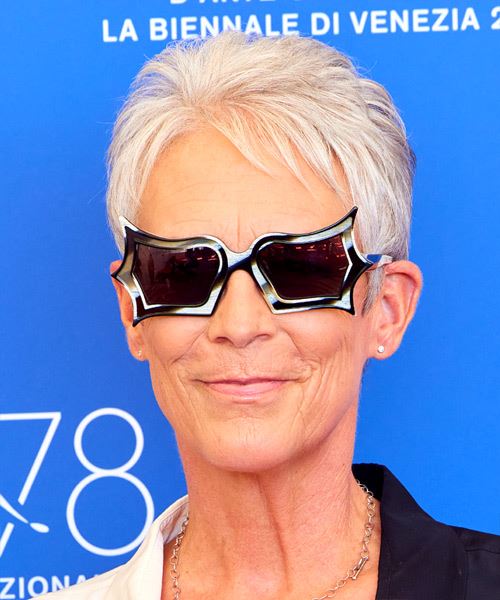
Image © MediaPunch

Image © MediaPunch
Hairstyle Suitability Rating:
Hairstyle Popularity Rating: ★★★★★
Hairstyle Popularity Rating: ★★★★★
Hairstyle Type
Category
Casual
Length
Short
Elasticity
Straight
Hair Color
Light Grey
Haircut Technique
Type
Clipper Cut
Suitability
Gender
Women
Face Shape
oval,oblong,diamond,triangular
Hair Density
Medium
Hair Texture
Fine
Age
41 - 50, 51 - 60, and Over 60
Height
Any
Weight
Thin/Average/Large
Forehead Height
Short/Average
Glasses
Yes
Styling
Time
10 minutes
Products
mousse, moulding cream
Tools
finger dry, blow dry

