Added:
26 Mar 2017
These locks are left to fall over the shoulders showing off the soft waves dressed through the mid-lengths to ends for shape and softness. This low-fuss look is easy to re-create with the right tools and needs product for shine and hold. Regular trims every 4-6 weeks will help prevent split ends.
Bebe Rexha is looking beautiful here in a medium length layered hairstyle that is full of texture and fullness. Bebe has a round face shape and to balance this shape, she has created the illusion of length by adding height through the crown of the head and long layers throughout, along with a sleek side-swept fringe. She keeps her hair over the ears and cheeks and maintains minimal volume through the temples to take the emphasis off of her wide cheekbones. The loose waves add movement to her cut and also softens her face shape nicely. Ladies with a round face shape could follow Bebe’s lead with a side part and long face-framing layers that help narrow the face shape.
Bebe has natural brown hair and looks best in shades of vibrant brunette and red, however here she has gone for a more dramatic look. She is wearing a cool platinum blonde shade that contrasts with her olive skin tone and her dark eyes. This creates a striking look that is fun and trendy, and make her dark eyes pop even more.
Bebe Rexha is an American singer, a multi-platinum songwriter and a record producer.
Bebe Rexha Long Wavy Light Blonde Hairstyle
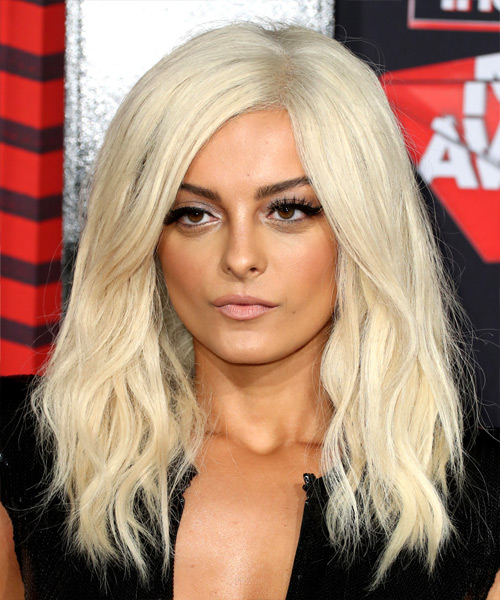
Image © MediaPunch
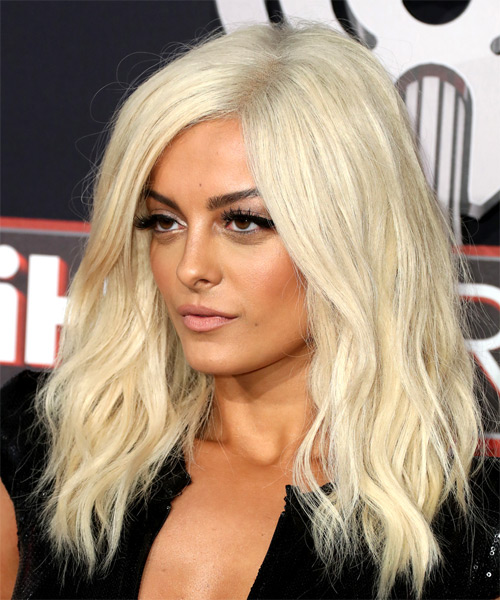
Image © MediaPunch
Hairstyle Suitability Rating:
Hairstyle Popularity Rating: ★★★★★
Hairstyle Popularity Rating: ★★★★★
Hairstyle Type
Category
Casual
Length
Long
Elasticity
Wavy
Hair Color
Light Blonde
Haircut Technique
Type
Scissor Cut
Suitability
Gender
Women
Face Shape
round,oval,oblong,square,heart,diamond
Hair Density
Medium
Hair Texture
Medium
Age
Under 21, 21 - 30, 31 - 40, and 41 - 50
Height
Any
Weight
Thin/Average/Large
Forehead Height
Short/Average
Glasses
Yes
Styling
Time
20 minutes
Tip
Tease the hair throughout to create the appearance of thicker locks all over.
Products
hair spray
Tools
blow dry, finger dry, curling iron

