Added:
07 May 2018
Simple, classy and elegant is the main idea for Kate Bock's 'do. Her medium fine locks are blow-waved smooth, with a center part to show off her cascading layers. The large waves at the ends soften up the face, making it suitable for square face shapes like hers or otherwise angular jawlines. Only a small amount of product is needed to tame fly-away hair and regular trims every 4-6 weeks will help prevent split ends.
Kate Bock Long Straight Dark Blonde Hairstyle
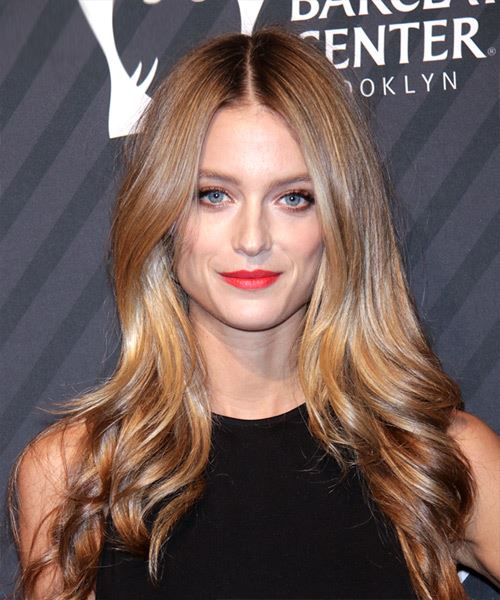
Image © MediaPunch
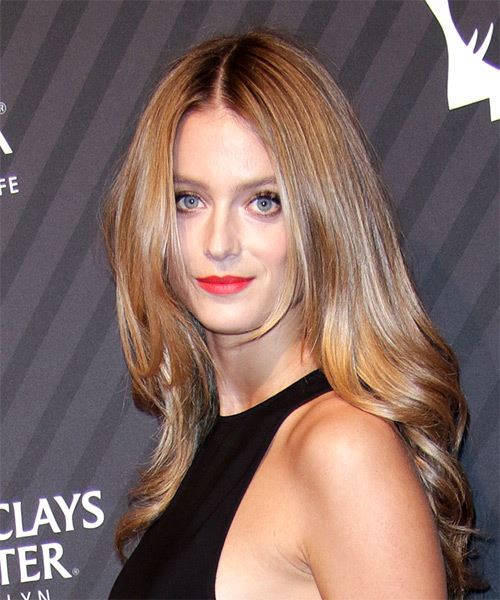
Image © MediaPunch
Hairstyle Suitability Rating:
Hairstyle Popularity Rating: ★★★★★
Hairstyle Popularity Rating: ★★★★★
Hairstyle Type
Category
Casual
Length
Long
Elasticity
Straight
Hair Color
Dark Blonde
Haircut Technique
Type
Scissor Cut
Suitability
Gender
Women
Face Shape
round,oval,oblong,square,heart,diamond,triangular
Hair Density
Medium
Hair Texture
Medium
Age
Under 21, 21 - 30, 31 - 40, and 41 - 50
Height
Any
Weight
Thin/Average/Large
Forehead Height
Short/Average
Glasses
Yes
Styling
Time
20 minutes
Products
moulding cream, smoothing shine, hair spray
Tools
blow dry, curling iron

