Added:
05 Mar 2018
Looking for a stylish and flattering hairstyle that is easy to manage and perfect for busy days? Check out this short windblown Bob haircut! This windblown blonde bob is blow-dried perfectly to smooth down the top while turning the ends slightly under for a fabulous finish. The layered long bangs are worn swept across the forehead to frame the eyes and complete the overall look brilliantly. Subtle backcombing adds extra body and bounce all over, making this an ideal 'do for fine hair. Regular trims are needed to maintain this hairstyle, as well as regular toning treatments to keep the color looking silvery cool.
This short windblown Bob is the perfect choice if you're looking for a stylish, low-maintenance haircut that is ideal for both professional and casual settings. With its versatile length and feathery texture, this trendy cut is flattering on virtually every face shape. Plus, its chin-length layers make it easy to style and maintain, so you can enjoy a look that always looks effortlessly chic. This on-trend cut features short, chin-length layers that are perfectly textured to frame your face, while a side-swept fringe flatters your cheekbones. Whether you're looking for an everyday style or something more formal, this short windblown Bob has your back. So why wait? Treat yourself to this gorgeous go-to chop today!
Short Windblown Bob Haircut
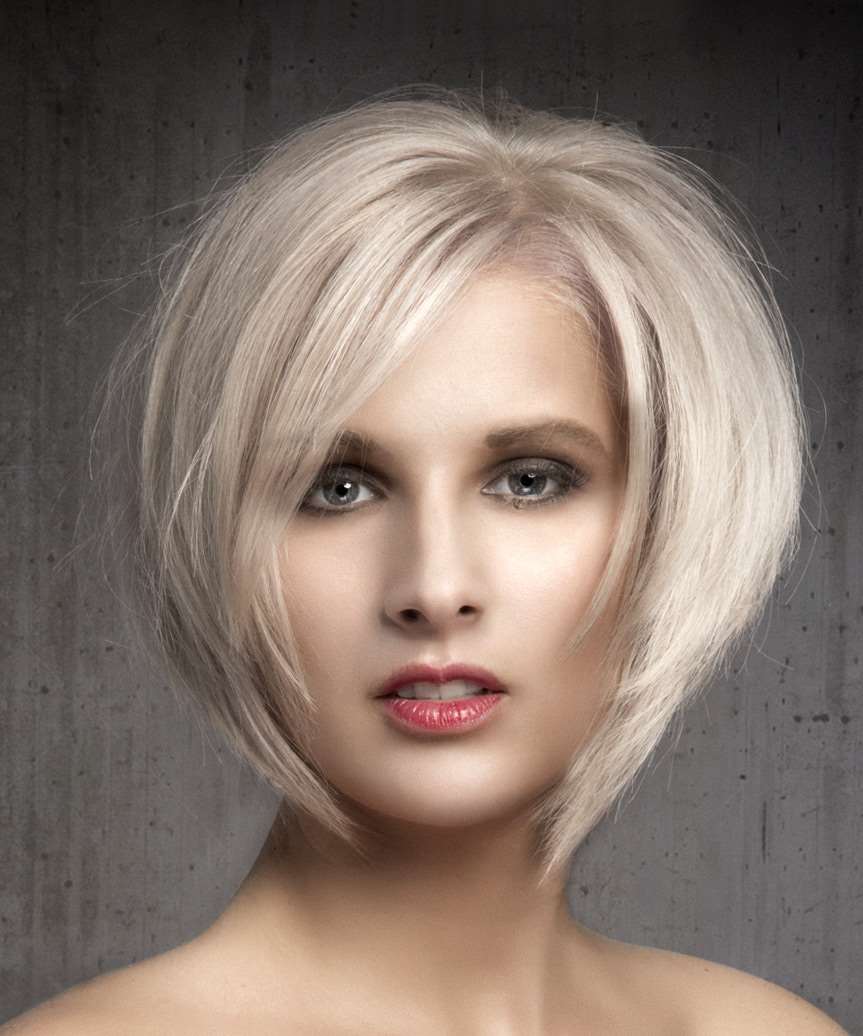
Image © TheHairStyler.com
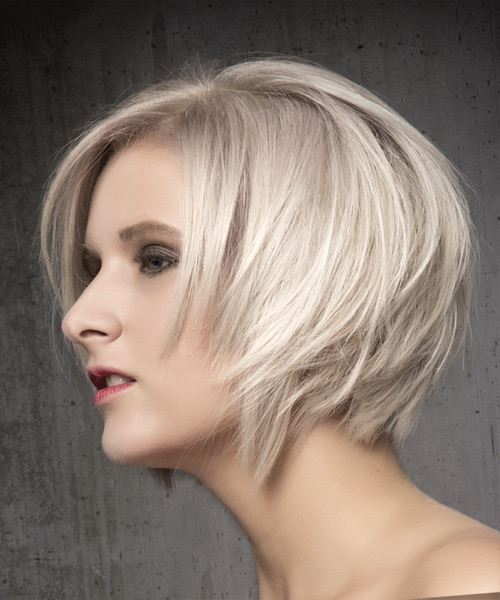
Image © TheHairStyler.com

Image © TheHairStyler.com
Visual Story
Hairstyle Suitability Rating:
Hairstyle Popularity Rating: ★★★★★
Hairstyle Popularity Rating: ★★★★★
Hairstyle Type
Category
Formal
Length
Short
Elasticity
Straight
Hair Color
Light Ash Blonde
Haircut Technique
Type
Scissor Cut
Suitability
Gender
Women
Face Shape
round,oval,oblong,diamond,triangular
Hair Density
Medium
Hair Texture
Fine
Age
21 - 30, 31 - 40, 41 - 50, 51 - 60, and Over 60
Height
Any
Weight
Thin/Average/Large
Forehead Height
Short/Average
Glasses
Yes
Styling
Time
10 minutes
Tip
Use mousse and a large round brush to blow dry this style into place.
Products
mousse, wax, hair spray
Tools
blow dry

