Added:
12 Nov 2017
This medium copper bob haircut is blow-straightened perfectly to smooth down the top while the ends are slightly turned under for a fabulous finish. The long layered bangs are worn down to frame the eyes and temples and complete the overall look brilliantly. Regular trims are needed to maintain this hairstyle.
Our model looks flawless here in a chic bob with layering throughout and a softly arched fringe. This cut is ideal for showing off her high cheekbones and expressive eyes. The long bangs provides her eyes with a nice frame while the rest of her hair maintains a smooth, sculpted shape that falls to her shoulders. Layers are cut in the front from the temples down to create a jagged finish that sculpts around the face. This 'do is ideal for ladies with straight hair who look best with a full-on fringe, and who need a defined cut that slims and sculpts the face.
Our model looks fabulous here in her bob that is complemented by her rich medium copper tone. Straight bobs look best in striking monochromatic colors such as this one; no highlights are needed to perfect this look. Plus, it gives her locks a glossy, healthy looking finish. Ladies with a fair, cool complexion like hers can also pull this tone off nicely, and it suits both dark and light eye colors! Regular color touch ups are needed as red can fade fast in the hair, especially when exposed to lots of sun.
Shoulder-Length Copper Bob Haircut With Softly Arched Fringe
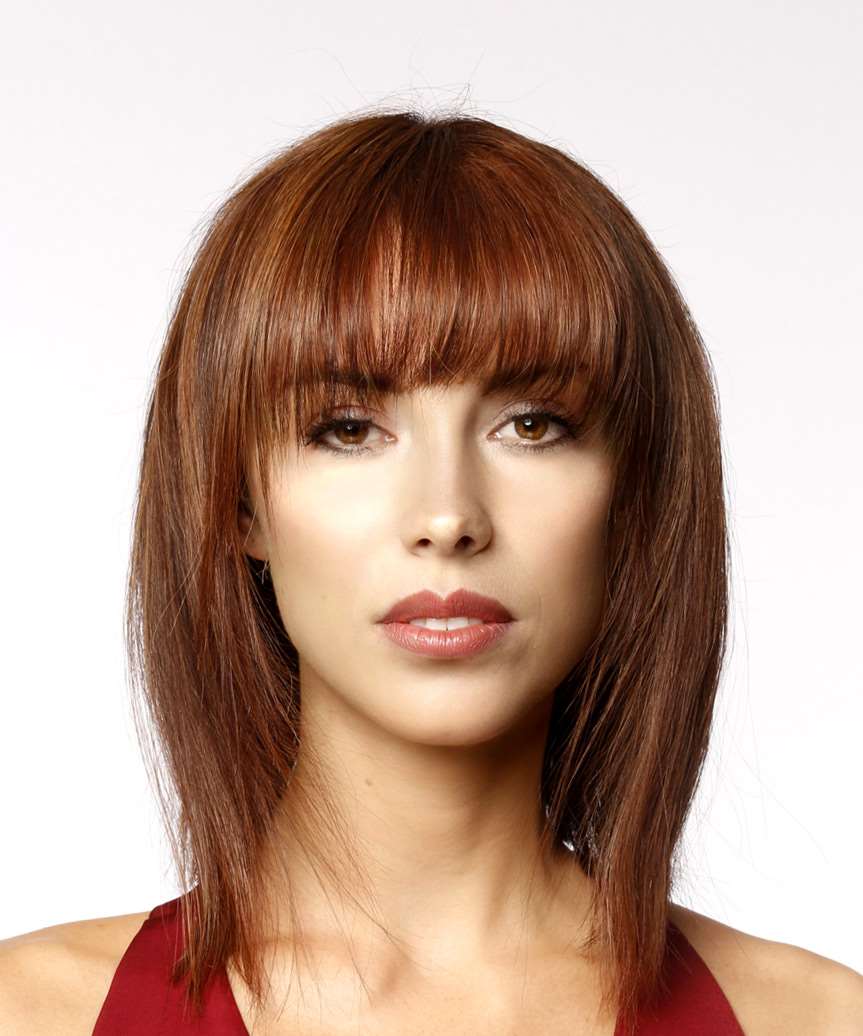
Image © TheHairStyler.com
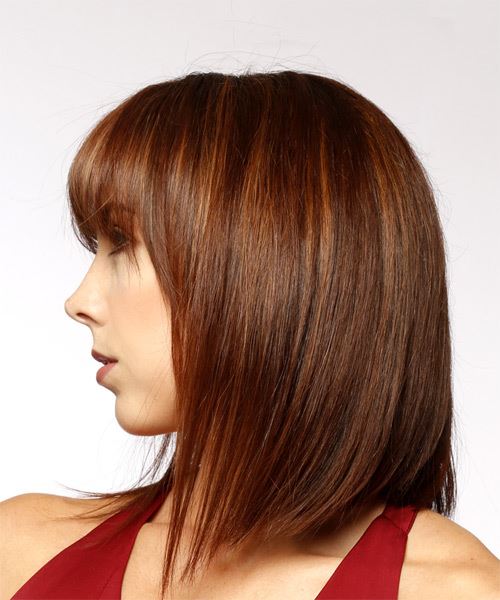
Image © TheHairStyler.com
Hairstyle Suitability Rating:
Hairstyle Popularity Rating: ★★★★★
Hairstyle Popularity Rating: ★★★★★
Hairstyle Type
Category
Formal
Length
Medium
Elasticity
Straight
Hair Color
Red
Haircut Technique
Type
Scissor Cut
Suitability
Gender
Women
Face Shape
round,oval,oblong,heart,diamond,triangular
Hair Density
Medium
Hair Texture
Fine
Age
Under 21, 21 - 30, 31 - 40, 41 - 50, 51 - 60, and Over 60
Height
Any
Weight
Thin/Average/Large
Forehead Height
Long
Glasses
Yes
Styling
Time
10 minutes
Tip
Use a round brush to blow dry this 'do into place.
Products
gel spray, moulding cream
Tools
blow dry

