Added:
29 Oct 2018
Bouncy corkscrew curls are added to the ends to give this casual Bob haircut volume and movement. The top is parted on the side and with the body and volume, this 'do is great to frame a long or angular face. Product is needed for hold and shine and regular trims will help prevent split ends.
Our model looks lovely here with a curly shoulder-length Bob with extra va-va-voom! This 'do has been styled with large curls in the ends that add body and shine. This is ideal for her face shape, which is an oblong shape, as it benefits from the added fullness around the face and chin area in particular. Our model has a high forehead with a round hairline which is ideal for wearing a side part and grown out fringe or side-swept fringe, as seen here. Our model has teased the roots of her hair and bangs for a tousled, sexy finish.
Our model has a warm complexion with yellow undertones and light green eyes. This makes her well suited to gold and yellow blonde tones the best. Here, she goes with a warm, light golden blonde base color and white highlights. This color works well for her and lightens up her complexion, plus it makes her eye color the center of attention. This is a great choice for our model's coloring and it gives her locks a healthy, shiny finish.
Bouncy Bob Haircut With Corkscrew Curls
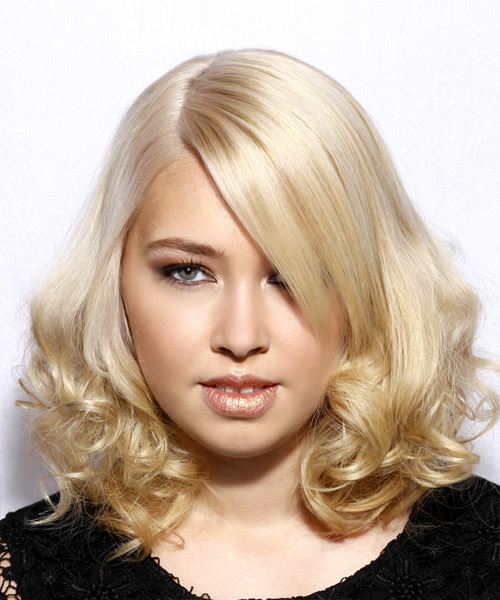
Image © TheHairStyler.com
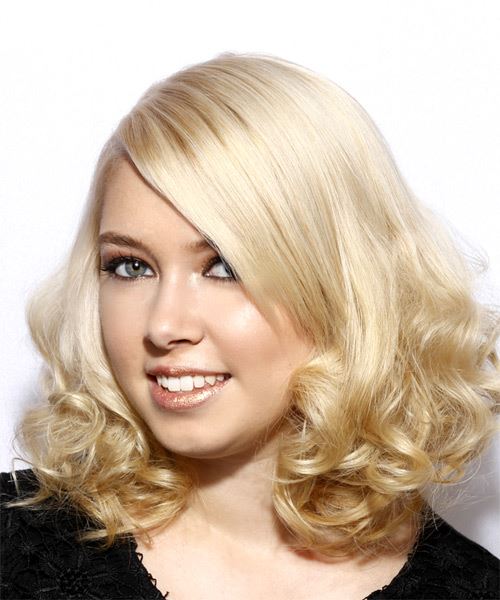
Image © TheHairStyler.com
Hairstyle Suitability Rating:
Hairstyle Popularity Rating: ★★★★★
Hairstyle Popularity Rating: ★★★★★
Hairstyle Type
Category
Formal
Length
Medium
Elasticity
Curly
Hair Color
Light Blonde
Haircut Technique
Type
Scissor Cut
Suitability
Gender
Women
Face Shape
oval,oblong,diamond,triangular
Hair Density
Medium
Hair Texture
Medium
Age
Under 21, 21 - 30, 31 - 40, and 41 - 50
Height
Any
Weight
Thin/Average/Large
Forehead Height
Short/Average
Glasses
No
Styling
Time
20 minutes
Products
mousse, moulding cream, hair spray
Tools
blow dry, hot rollers

