Added:
10 Nov 2010
This vibrant ginger-red short hairstyle is ideal for spring and summer. It is a naturally straight hairdo lightened at the roots with blonde highlights and soft waves to the side for a chic look. Add instant sophistication to your everyday look with this classic hairstyle. It is perfect for a special formal occasion or even a casual day out.
Our model is wearing a gorgeous straight hairstyle that features long straight hair and natural side swept bangs that soften her face. She also highlighted her face for an effortless look that will make you love this chic style. For the hair styling, a scissor cut has been applied, and it is a perfectly shaped style left a little longer at the front with shorter layers cut around the top to add height around the crown. A simple side part also adds extra volume to this style. This hairdo is perfect for fine hair types, and the sides have been cut longer around the neck and thinned out to create a softer look around the face. The back has been tapered nicely around the nape. It is a stunning short straight hairstyle that features side swept bangs and blonde highlights to accentuate your oval, oblong or square face shape. Pair this timeless short bob with edgy side-swept bangs to create a perfect look for your excellent, casual style.
To maintain this hairstyle, have it trimmed every four to six weeks. Lift the top section of your hair at the roots and pinch in some sculpting lotion or wax for the body. Use hair spray for extra shine and a moisturizing conditioner once or twice a week.
Short Chin-Length Hairstyle With Face-Framing Layers
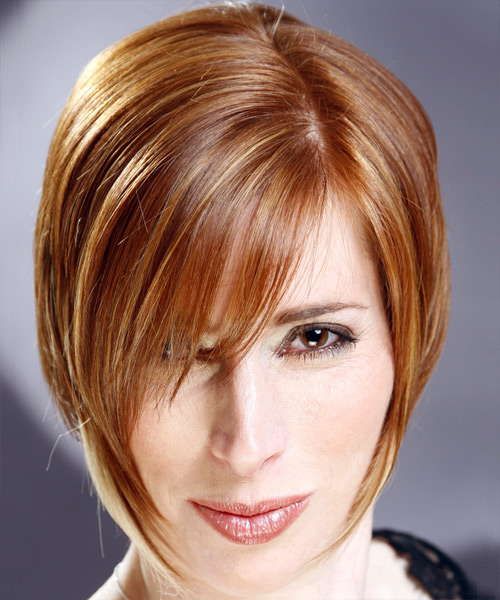
Image © TheHairStyler.com
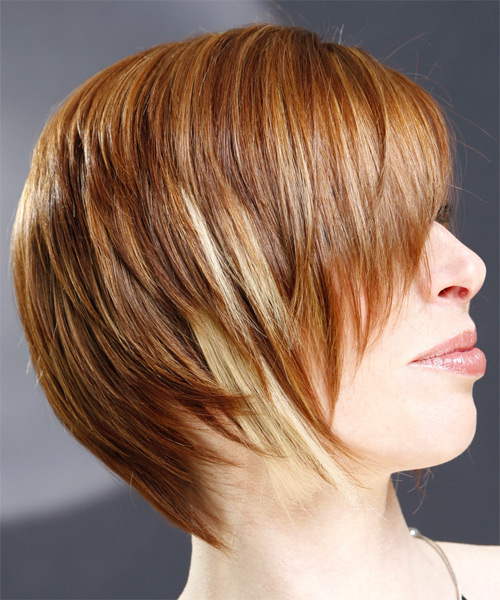
Image © TheHairStyler.com
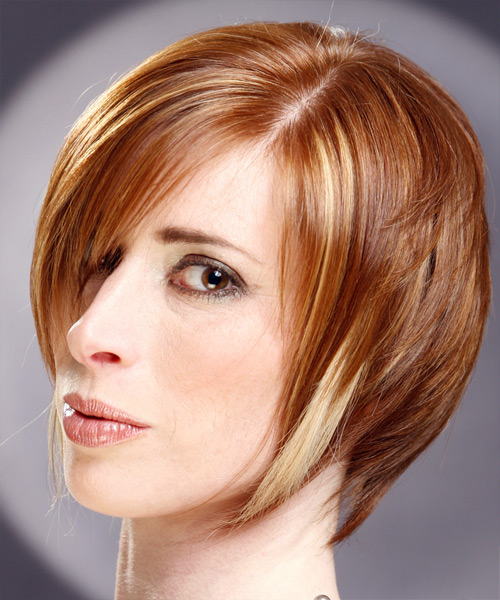
Image © TheHairStyler.com
Hairstyle Suitability Rating:
Hairstyle Popularity Rating: ★★★★★
Hairstyle Popularity Rating: ★★★★★
Hairstyle Type
Category
Casual
Length
Short
Elasticity
Straight
Hair Color
Light Ginger Red and Blonde Highlights
Haircut Technique
Type
Scissor Cut
Suitability
Gender
Women
Face Shape
oval,oblong,square,heart
Hair Density
Thin/Medium
Hair Texture
Fine/Medium
Age
Under 21, 21 - 30, 31 - 40, and 41 - 50
Height
Any
Weight
Thin/Average/Large
Forehead Height
Short/Average
Neck Length
Short/Average
Ears
Small/Average
Nose
Small/Average
Glasses
No
Styling
Time
30 minutes
Tip
Pinch the products into the ends of your hair and lift the top section at the roots to achieve body and volume.
Products
moisturizer, sculpture lotion, wax, smoothing shine, hair spray
Tools
blow dry

