Added:
19 Mar 2018
Coco Rocha flaunts an auburn brown bob that has been blow-straightened perfectly to smooth down the top while the ends kick out ever so slightly for a fabulous finish. This cut is ideal for showing off her high cheekbones and bold facial features. This bob has slight layering through the ends and will suit most face shapes well. Regular trims are needed to maintain this hairstyle.
Coco Rocha Short Straight Brunette Bob Haircut
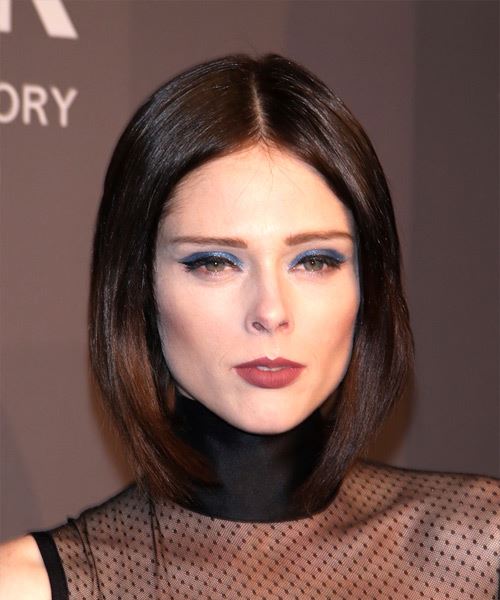
Image © MediaPunch
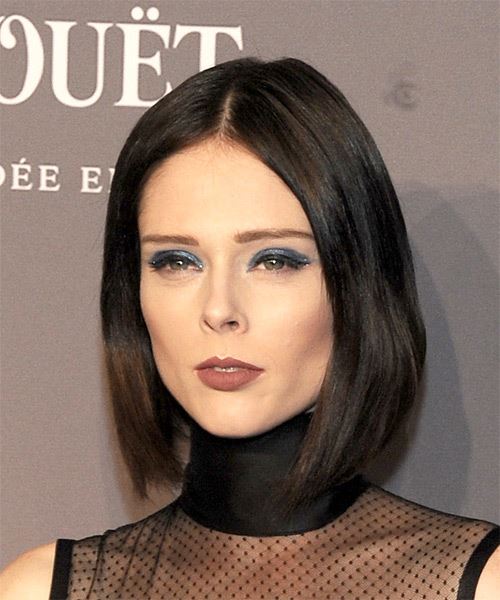
Image © MediaPunch
Hairstyle Suitability Rating:
Hairstyle Popularity Rating: ★★★★★
Hairstyle Popularity Rating: ★★★★★
Hairstyle Type
Category
Casual
Length
Short
Elasticity
Straight
Hair Color
Brunette
Haircut Technique
Type
Scissor Cut
Suitability
Gender
Women
Face Shape
round,oval,oblong,diamond,triangular
Hair Density
Medium
Hair Texture
Medium
Age
Under 21, 21 - 30, 31 - 40, and 41 - 50
Height
Any
Weight
Thin/Average
Forehead Height
Short/Average
Glasses
Yes
Styling
Time
20 minutes
Tip
Work a shine serum through this 'do to finish it off with a nice gloss.
Products
moisturizer, moulding cream
Tools
blow dry

