Added:
13 Aug 2018
We all grew up watching Chyler Leigh West flaunting her stuff in the movie "Not Another Teen Movie" and she is now inspiring hairstyles that are taking over the city streets.
This Asymmetrical sleek bob is blow-dried to create volume at the crown point whilst the side is styled smooth and sleek behind her ear to give a formal yet fabulous finish. Her bangs are grown out which has been swept to the side to frame chin as well as give her face a straight appearance.
Her mahogany-colored hair is a great option for people who have fair skin tones as the color brightens up the face. This hairstyle will suit other hair colors but dark is best for this look. You are going to need to straighten your hair to keep this look in place and a bit of product will go a long way with this look as well.
This asymmetrical bob will suit most ages and face shapes as well due to the fact that the bangs are going to shape your face to an oval shape appearance.
This might be a daring look in the beginning but once you get used to the style, you are going to want to go out every night of the week!
Chyler Leigh Short Straight Layered Dark Brunette Bob Haircut
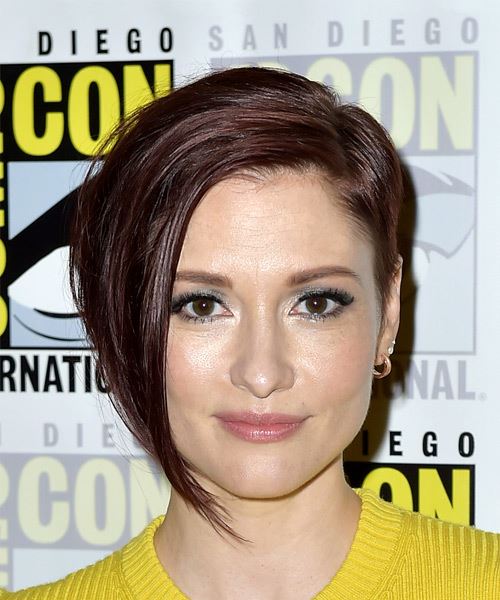
Image © MediaPunch
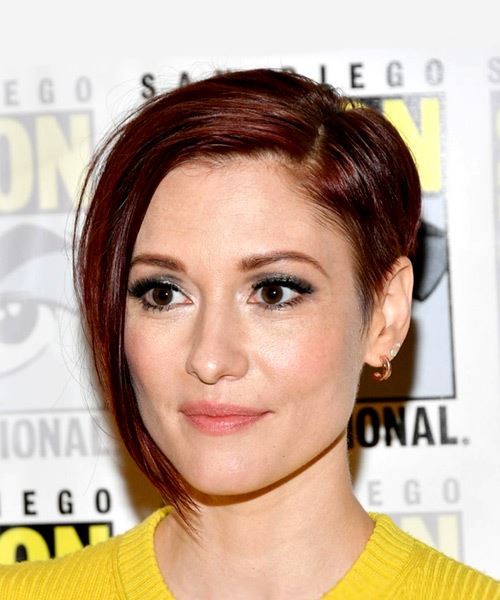
Image © MediaPunch
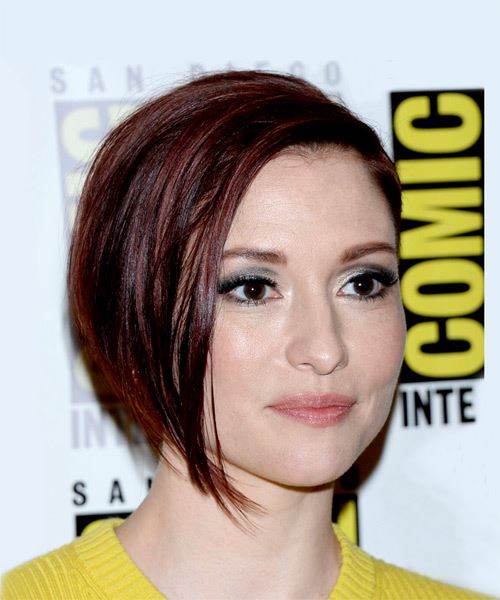
Image © MediaPunch
Hairstyle Suitability Rating:
Hairstyle Popularity Rating: ★★★★★
Hairstyle Popularity Rating: ★★★★★
Hairstyle Type
Category
Casual
Length
Short
Elasticity
Straight
Hair Color
Dark Brunette
Haircut Technique
Type
Scissor Cut
Suitability
Gender
Women
Face Shape
oval,oblong,square,heart,diamond,triangular
Hair Density
Medium
Hair Texture
Fine
Age
Under 21, 21 - 30, 31 - 40, 41 - 50, and 51 - 60
Height
Any
Weight
Thin/Average/Large
Forehead Height
Short/Average
Glasses
Yes
Styling
Time
10 minutes
Products
mousse, moulding cream
Tools
blow dry

