Added:
10 Mar 2014
Sweet and simple is the main idea for this hairdo. The length is blunt cut to sit just under the shoulders with only subtle layers added around the edges to lighten the length. This low-fuss hairstyle is best suited to balance out a long face, and perfect for those with fine to medium hair. regular trims is needed to prevent split ends.
Mandy Moore Medium Wavy Chocolate Brunette Hairstyle
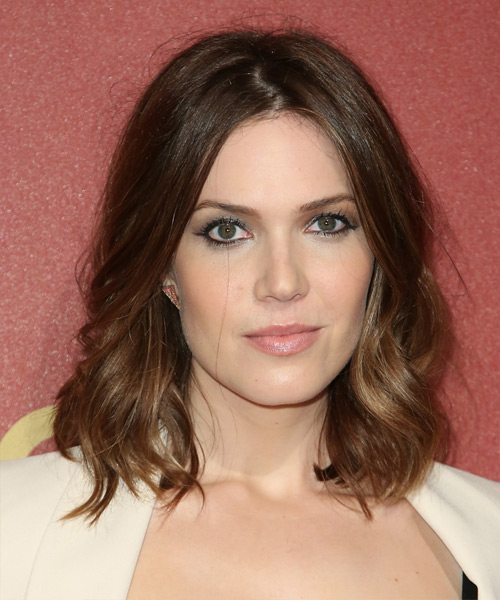
Image © MediaPunch

Image © MediaPunch
Hairstyle Suitability Rating:
Hairstyle Popularity Rating: ★★★★★
Hairstyle Popularity Rating: ★★★★★
Hairstyle Type
Category
Casual
Length
Medium
Elasticity
Wavy
Hair Color
Chocolate Brunette
Haircut Technique
Type
Blunt Cut
Suitability
Gender
Women
Face Shape
oval,oblong,square,diamond
Hair Density
Thin/Medium
Hair Texture
Fine/Medium
Age
Under 21, 21 - 30, 31 - 40, and 41 - 50
Height
Any
Weight
Thin/Average/Large
Forehead Height
Short/Average
Neck Length
Short/Average
Ears
Small/Average
Nose
Small/Average
Glasses
Yes
Styling
Time
20 minutes
Tip
Use your smoothing shine to add a small amount of gloss and to reduce fly-aways.
Products
mousse, wax, smoothing shine, hair spray
Tools
blow dry

