Added:
13 Oct 2014
Long layers are jagged cut around the edges of this brown mane then blow-waved to flick the ends out making this a fab' 'do to frame a long face. The top is parted on the side and swept across the face and soften the style. This look needs product to tame fly-away hair and regular trims every 4-6 weeks to maintain shape and prevent split ends.
Teri Hatcher Medium Straight Brunette Hairstyle
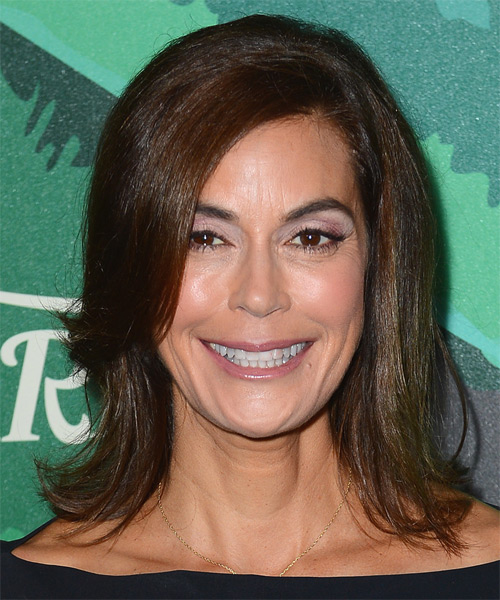
Image © MediaPunch
Hairstyle Suitability Rating:
Hairstyle Popularity Rating: ★★★★★
Hairstyle Popularity Rating: ★★★★★
Hairstyle Type
Category
Casual
Length
Medium
Elasticity
Straight
Hair Color
Brunette
Haircut Technique
Type
Suitability
Gender
Women
Face Shape
oval,oblong,square,diamond
Hair Density
Thin/Medium
Hair Texture
Fine/Medium
Age
Under 21, 21 - 30, 31 - 40, and 41 - 50
Height
Any
Weight
Thin/Average/Large
Forehead Height
Short/Average
Neck Length
Short/Average
Ears
Small/Average
Nose
Small/Average
Glasses
Yes
Styling
Time
20 minutes
Tip
Apply a small amount of smoothing shine to your top sections for shine and hold.
Products
mousse, wax, smoothing shine, hair spray
Tools
blow dry

