Added:
10 Oct 2008
Rihanna once again stunned onlookers with a new hairstyle. Her trade mark short textured crop was worn up in waves through the top, and the sides were slicked-back showing once again the versatility of short hair. With the help of the right products, this style will hold well in any weather condition. Her hair at the top creates height which helps to elongate her face shape, and the gentle curl around her eye area frames her forehead area. This style will take some time for you to style, but it is going to be worth it! Keep in mind, that if your hair is very thick, the curls will not hold well in this hairstyle. Triangle, oval, round, or heart-shaped face shapes will suit this look the best. Due to the curls around her eye area, glasses will not work well with this hairstyle.
With your makeup application, you can use a bold color on your lids like Rihanna. The blue complements her green eyes well, which is why she often has blue eyeshadow on. Pair your eye makeup with false lashes to make your eyes pop ore and finish off with a nude or pastel lipstick color. Do not forget to highlight and contour your face and neck area to create the perfect oval face shape and you are ready to rock your event!
Rihanna Undercut Hairstyle With Wavy Top
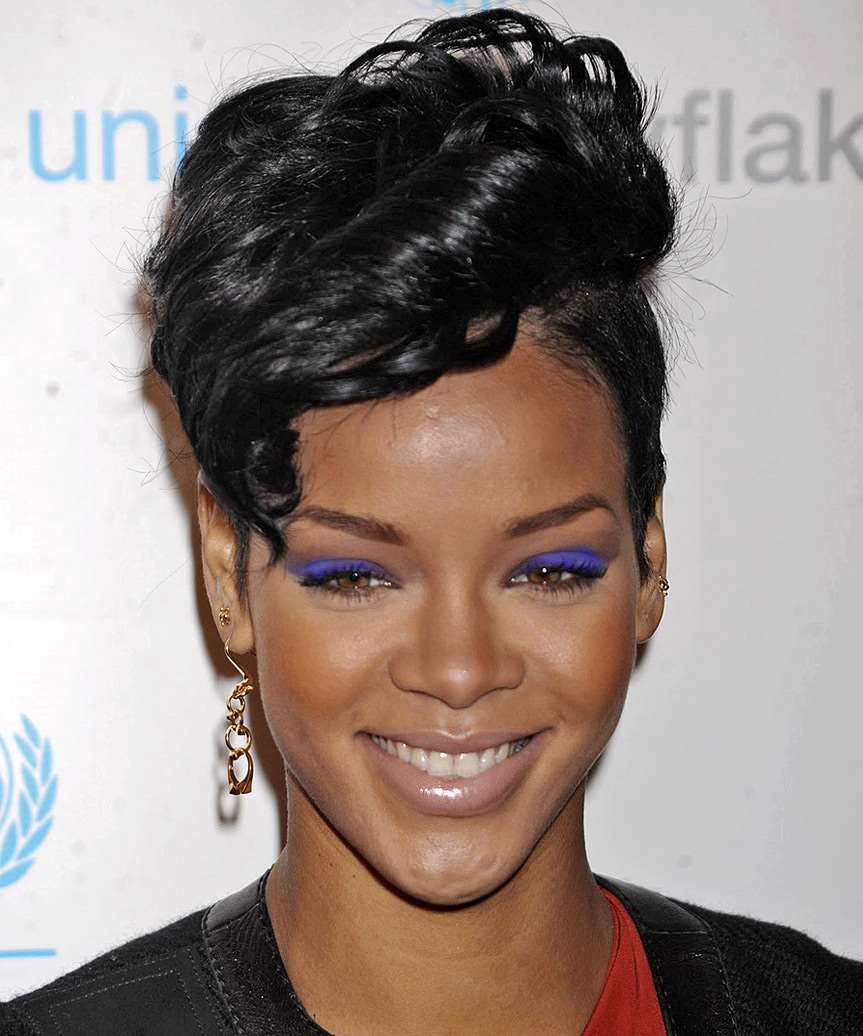
Image © MediaPunch

Image © MediaPunch
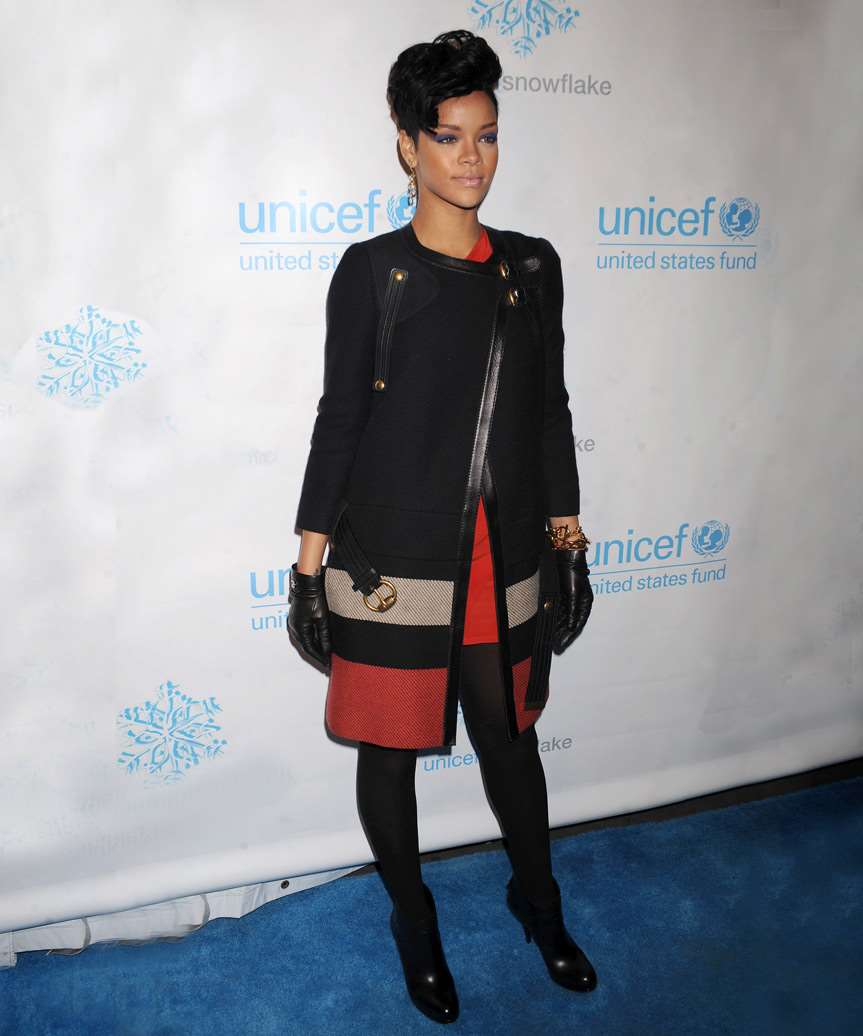
Image © MediaPunch
Visual Story
Hairstyle Suitability Rating:
Hairstyle Popularity Rating: ★★★★★
Hairstyle Popularity Rating: ★★★★★
Hairstyle Type
Category
Alternative
Length
Short
Elasticity
Wavy
Hair Color
Black
Haircut Technique
Type
Clipper Cut
Suitability
Gender
Women
Face Shape
round,oval,heart,triangular
Hair Density
Medium/Thick
Hair Texture
Medium/Coarse
Age
Under 21, 21 - 30, 31 - 40, and 41 - 50
Height
Any
Weight
Thin/Average/Large
Forehead Height
Short/Average
Neck Length
Short/Average
Ears
Small/Average
Nose
Small/Average
Glasses
No
Styling
Time
30+ minutes
Tip
Direct your hair into position while applying the finishing products.
Products
mousse, wax, smoothing shine, lacquer
Tools
finger dry, hot rollers

