Added:
29 Jun 2008
Rihanna stuns onlookers no matter where she goes- and of course the BET Awards 2008 was no exception. She showed off her trade-mark short crop and turned heads with a hot new color. Her red-brown tone complemented her overall look and suited her complexion perfectly. This color will be easy for you to achieve if you already have darker hair, but it is possible if you are a blonde as well. Keep in mind that you are going to need to color your hair once every 6 weeks or so to ensure that your roots do not show through and that the color stays vibrant. Rihanna has kept her bangs in a side-swept style, which is one of her signature looks. This hairstyle will suit all hair densities, but straight or wavy hair will be easier for you to style for this look. This cut is best suited for those with a square, oblong, diamond, or oval face shape.
When it comes to your makeup application, a smokey eye with a bold lip, as Rihanna has done will look stunning! You can add false lashes to make your eyes pop more and finish off with contouring and highlighting your face and neck area.
Rihanna Short Chocolate Brunette Crop With Side Swept Bangs
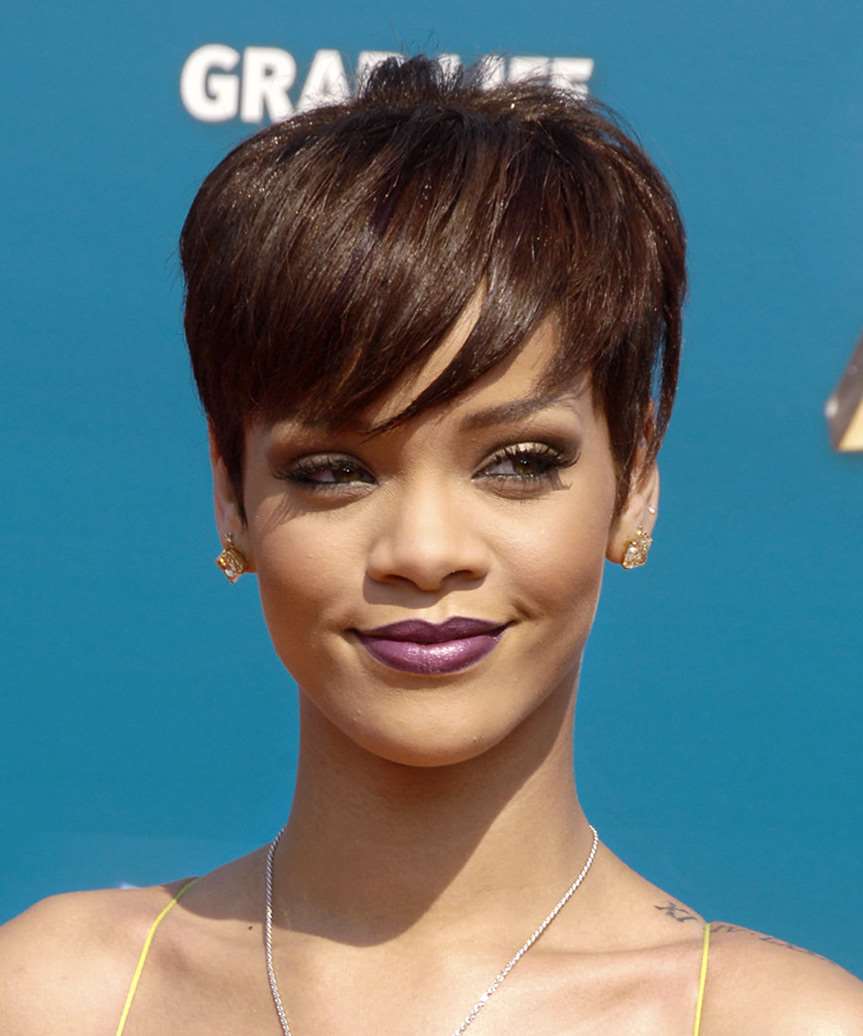
Images © MediaPunch/TheHairStyler.com
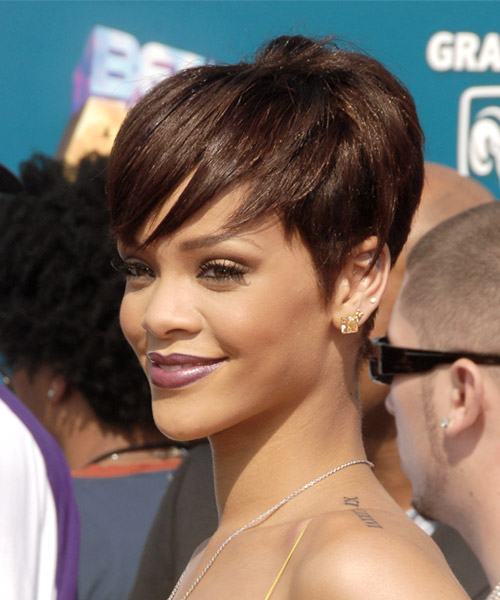
Images © MediaPunch/TheHairStyler.com
Hairstyle Suitability Rating:
Hairstyle Popularity Rating: ★★★★★
Hairstyle Popularity Rating: ★★★★★
Hairstyle Type
Category
Casual
Length
Short
Elasticity
Straight
Hair Color
Chocolate Brunette
Haircut Technique
Type
Razor Cut
Suitability
Gender
Women
Face Shape
oval,oblong,square,diamond
Hair Density
Medium/Thick
Hair Texture
Medium/Coarse
Age
Under 21, 21 - 30, 31 - 40, and 41 - 50
Height
Any
Weight
Thin/Average/Large
Forehead Height
Short/Average
Neck Length
Short/Average
Ears
Small/Average
Nose
Small/Average
Glasses
No
Styling
Time
20 minutes
Tip
Using the moulding cream, piece out sections with your fingertips to achieve this look.
Products
straightening, moulding cream, smoothing shine, lacquer
Tools
blow dry

