Added:
25 Sep 2009
Mandy proved that she knows how to get every eye on her at the New York Premiere of "Dedication" with this dark 'do. Her explosive loose curls were used to frame her collar bone perfectly and to make her fine hair appear thicker. To finish off her sexy style, her top section was teased and pulled back to achieve height and to show off her facial features.
Mandy Moore Long Curly Half Up Half Down Hairstyle
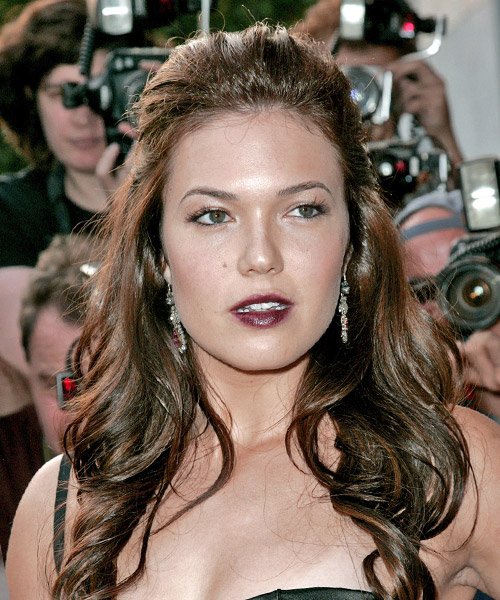
Image © MediaPunch
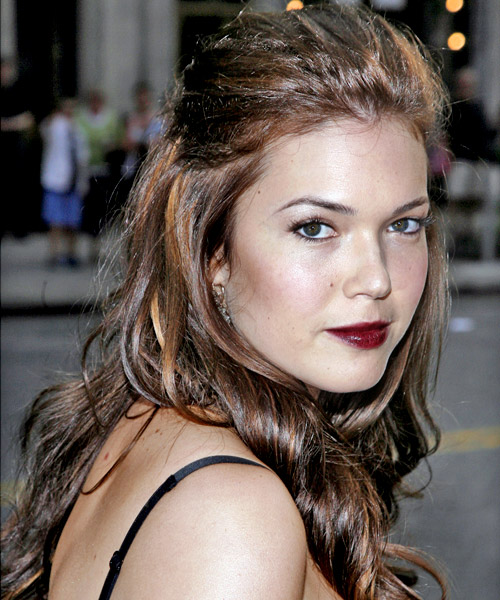
Image © MediaPunch
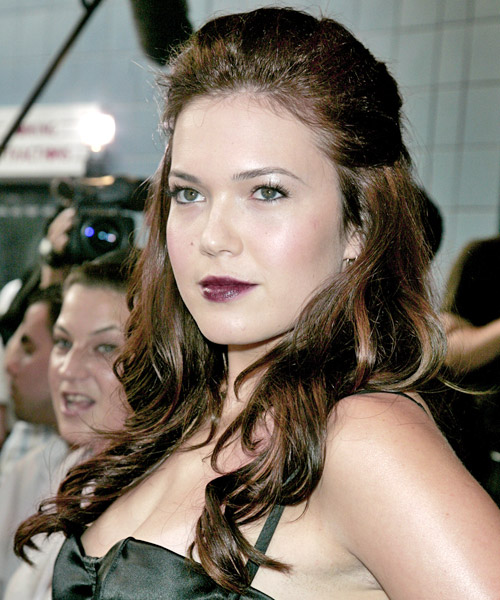
Image © MediaPunch
Hairstyle Suitability Rating:
Hairstyle Popularity Rating: ★★★★★
Hairstyle Popularity Rating: ★★★★★
Hairstyle Type
Category
Formal
Length
Half Up Long
Elasticity
Curly
Haircut Technique
Type
Scissor Cut
Suitability
Gender
Women
Face Shape
round,oval,heart,diamond
Hair Density
Thin/Medium
Hair Texture
Fine/Medium
Age
Under 21, 21 - 30, and 31 - 40
Height
Any
Weight
Thin/Average/Large
Forehead Height
Short/Average
Neck Length
Short/Average
Ears
Small/Average
Nose
Small/Average
Glasses
Yes
Styling
Time
30+ minutes
Tip
Tease your hair at the roots for height and control.
Products
mousse, hair spray
Tools
blow dry, hot rollers

