Added:
11 Nov 2010
This is an elegant and stylish short bob haircut for women under 30 or 40. This beautiful short 'do will suit any woman of any age and will make you look younger and more vibrant. This style is best for those women who want a slightly longer short-length bob with a much-defined face, bangs, and slicked-back hair at the nape of the neck.
Our model looks flawless in this concave bob haircut with long wispy bangs on the right side. Her sharp facial features are perfect for the style. For the hair styling, a scissor cut has been used. This short concave bob haircut is a simple style well suited for longer face shapes and naturally straight hair. The long wispy bangs have been side swept to create a soft shape around the face and short layers have been cut around the top to give the crown as much height as possible. The sides have been cut longer to the front to provide the bob with a concave shape around the neck. The back has been layer cut and tapered to the neck to give the front section all attention. This short bob look with long wispy bangs is a flattering short length. It will work best on women with thin to medium textured hair or those with fine to medium hair density. The fullness of this cut is subtle (unless you have super thick hair) and adds natural volume to the layers.
Try this short bob haircut with long wispy bangs which suits all most shapes and different hair types. Maintain this bob haircut with regular trims after 4 to 6 weeks, depending on your hair growth rate, to avoid split ends. Use your smoothing shine to add a small amount of gloss and to reduce flyaways.
Short Concave Bob Haircut With Long Wispy Bangs
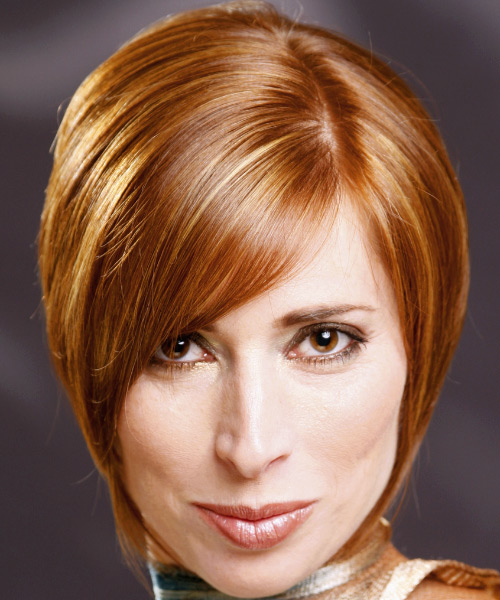
Image © TheHairStyler.com
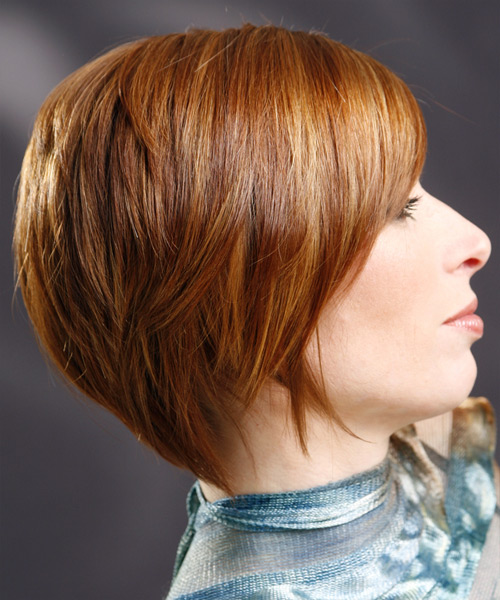
Image © TheHairStyler.com

Image © TheHairStyler.com
Hairstyle Suitability Rating:
Hairstyle Popularity Rating: ★★★★★
Hairstyle Popularity Rating: ★★★★★
Hairstyle Type
Category
Formal
Length
Short
Elasticity
Straight
Hair Color
Ginger and Light Blonde Highlights
Haircut Technique
Type
Scissor Cut
Suitability
Gender
Women
Face Shape
round,oval,heart,diamond
Hair Density
Thin/Medium
Hair Texture
Fine/Medium
Age
Under 21, 21 - 30, 31 - 40, and 41 - 50
Height
Any
Weight
Thin/Average/Large
Forehead Height
Short/Average
Neck Length
Long
Ears
Small/Average
Nose
Small/Average
Glasses
No
Styling
Time
30 minutes
Tip
Use your smoothing shine to add a small amount of gloss and to reduce fly-aways.
Products
moisturizer, sculpture lotion, wax, smoothing shine, hair spray
Tools
blow dry

