Nicky Whelan Short Straight Light Blonde Bob Haircut


Added: 31 Mar 2017
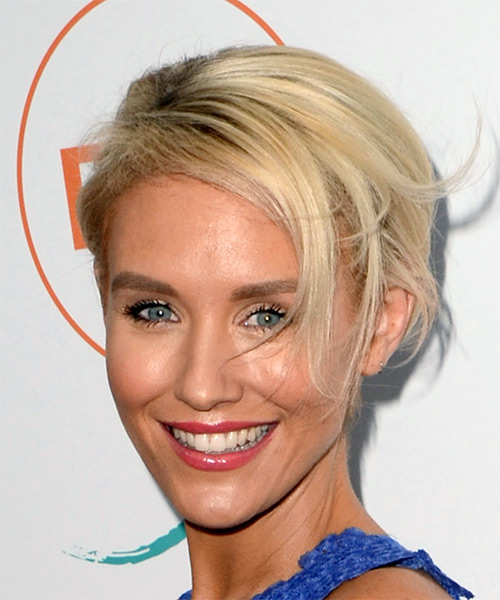
The back of this 'do is tapered into the head with jagged layers cut all through the sides and top to create this gorgeous shape, best suited to compliment a long face. This look is great for any occasion and easy to maintain with regular trims every 4-6 weeks. Product is needed to for gloss and hold.

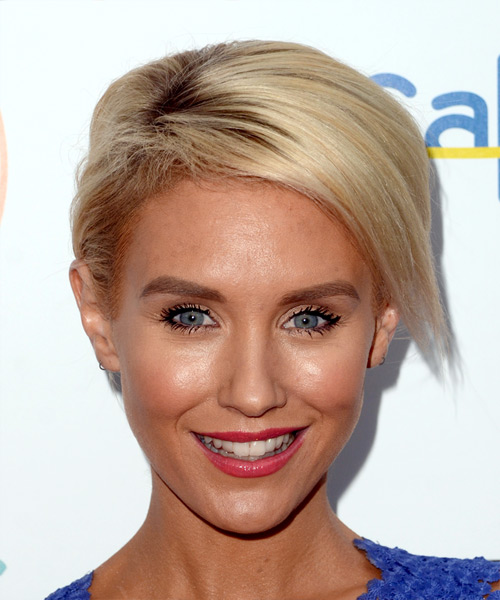
Nicky Whelan looks gorgeous here in a sleek short cut. This ‘do shows off all of her best features and works well with her straight hair texture. Nicky has a strong jaw line and high forehead, and an overall oblong face shape. Her tresses look best in styles that frame the face and reduce excess length. This ‘do does just that, with jagged cut layers hugging her cheeks and jawbone while the top layers have been smoothed to the side. The side-parted fringe is perfect for Nicky as it balances out her face shape and brings the attention to her eyes.

Nicky’s color is right on point here and is ideal for her look. Having a tanned skin tone and light blue eyes she is best suited to light blonde hair. Here she sports a light wheat blonde shade that gives her complexion a cool glow while her blue eyes and dark eyebrows pop!

Nicky Whelan is an Australian actress and model best known for her role as Pepper Steiger in the Australian soap opera Neighbours.

Hairstyle Suitability Rating: ★★★★★
Hairstyle Popularity Rating: ★★★★★

Hairstyle Type

Category
Casual
Length
Short
Elasticity
Straight
Hair Color
Light Blonde

Haircut Technique

Type
Scissor Cut

Suitability

Gender
Women
Face Shape
oval,oblong,heart,diamond
Hair Density
Medium
Hair Texture
Medium

Age
21 - 30, 31 - 40, 41 - 50, 51 - 60, and Over 60
Height
Any
Weight
Thin/Average/Large

Forehead Height
Short/Average
Glasses
No

Styling

Time
20 minutes
Tip
Tease the roots after styling for extra hold and volume.
Products
mousse, wax, gel, hair spray
Tools
blow dry


Similar hairstyles you may be interested in...


step 1

Apply styling mousse to damp hair, using your palm as a measuring guide, and evenly distribute it along the hair shaft. Styling mousse will add hold and can help achieve better results.


step 2

Using the corner of your comb and standing in front of a mirror find the middle of your right eye and then drag the comb straight up slowly until you reach your hairline and then continue back in a straight manner to achieve an even right part. A side part is great for longer face shapes because it creates the illusion of width.


step 3

A medium radial brush is used on medium to long hair types to smooth out wavy or curly hair textures or to add body to straight hair. When selecting a radial brush, always use one with a pure bristle as this will not tear or damage the hair.


step 4

Using your brush, blow-dry in small sections starting from the sides. Tilting your head forward, place the brush an inch below the roots to hold them taut and aim the dryer above the brush for a few seconds before continuing to the ends. Repeat this step on a new section directly above the dry one.


step 5

To blow-dry the crown/top sections, take a section of hair no bigger than the diameter of the brush and blow-dry the hair placing the brush under the section of hair. With your blow-dryer in front of the brush, follow the brush in an upwards direction at the roots and an outwards position at the ends for volume and softness. Continue until the section is dry.


step 6

To blow-dry your bangs to the side, clip the back and side sections up, leaving just your bangs out. Place your brush beneath your bangs, holding your hair to the side and remembering to hold the tension between your hair and brush. With your blow-dryer on a low setting, apply heat by starting at the roots and make sure to stretch your hair out to the ends. Repeat until your hair is dry.


step 7

Pick up a small selection of hair from your mid section no bigger than your tail comb. Place your comb at the roots and then comb up and down until the hair is standing up by itself. Continue to the crown and finish at the sides. Repeat this step if you require more volume.


step 8

Apply wax to your fingertips then drag through your bangs, sweeping the hair to the left as you go. Pinching the ends will create soft texture.


step 9

Apply a small amount of gel to your fingertips, then place it at the roots above your ear and drag it through as you pull your hair behind your ear.


step 10

To finish, apply a minimal amount of hairspray from an arms length distance to the top, sides and back. Take care not to use too much or you will end up with a white, flaky residue which looks like dandruff.


Recommended Hairstyles...