Added:
03 Mar 2014
This style is all about ease and simplicity. The ombre effects in the hair make it look super natural, and it takes minimal effort to maintain. So while this model shows you how to create a long hairstyle with the brunette and red tones, she could also be described as a fabulous chick who knows how to have fun!
This medium to long layers are cut through the back and sides of these ombre locks to lighten the length and make it easy to move and shape from mid-lengths to ends. Long and natural-looking waves are an excellent choice for your wedding hairstyle. These waves consist of long tresses that are carefully separated and curled into one another in such a way that gives them a long, elegant, polished look. You can further enhance the long ombre waves with some layers or extensions. A long dark ombre is an excellent style for women with fine or medium hair. It washes out easily, and it's suitable for most face shapes and hair textures.
Your hairstyle will stay in shape if you undergo regular trim after 4 to 6 weeks. If your hair is starting to look a gray and you want to keep it healthy, you may need regular toning treatments to help bring back the brunette ombre waves. To tame fly-away strands, you may need a small amount of product.
Long Casual Ombre Waves
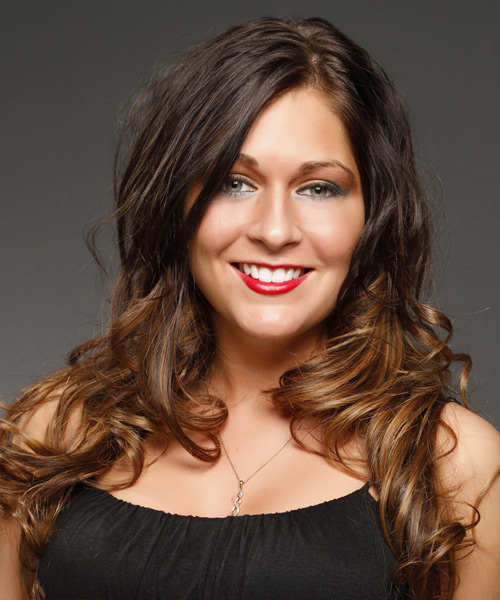
Images © MediaPunch/TheHairStyler.com
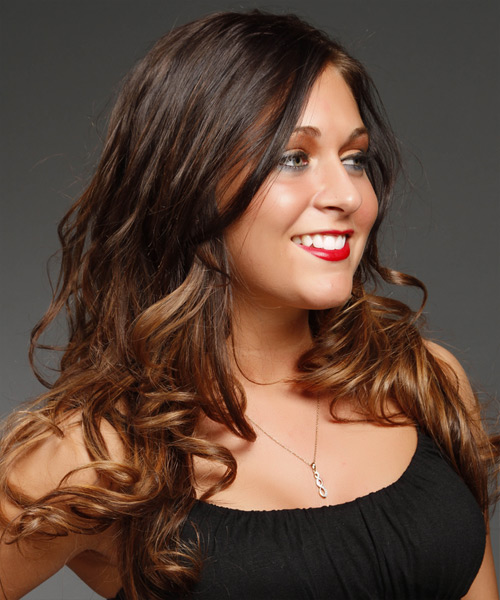
Images © MediaPunch/TheHairStyler.com
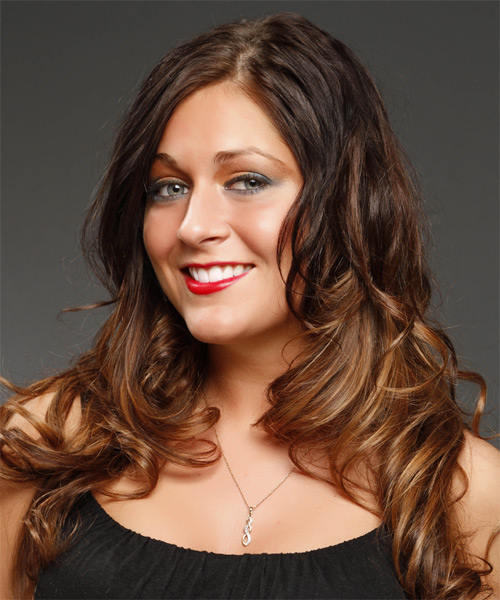
Images © MediaPunch/TheHairStyler.com
Hairstyle Suitability Rating:
Hairstyle Popularity Rating: ★★★★★
Hairstyle Popularity Rating: ★★★★★
Hairstyle Type
Category
Casual
Length
Long
Elasticity
Wavy
Hair Color
Dark Brunette and Brunette Two-Tone
Haircut Technique
Type
Scissor Cut
Suitability
Gender
Women
Face Shape
oval,oblong,square,diamond
Hair Density
Thin/Medium
Hair Texture
Fine/Medium
Age
Under 21, 21 - 30, 31 - 40, and 41 - 50
Height
Any
Weight
Thin/Average/Large
Forehead Height
Short/Average
Neck Length
Short/Average
Ears
Small/Average
Nose
Small/Average
Glasses
Yes
Styling
Time
30 minutes
Tip
Rake your fingers down through this style using your smoothing shine to create this textured effect.
Products
mousse, wax, smoothing shine, hair spray
Tools
blow dry, curling iron

