Added:
11 Nov 2010
Seductive layers cut through the edges of this lavish 'do adds a little movement to the ends for a textured finish while the top is flipped over to one side for a fun and flirty look. This sleek hairstyle is easy to maintain with regular trims and is best suited for those looking for a low-fuss yet luscious look. This longer straight look gives her more volume and a looser, more casual look. The long layers look great with her face shape.
America Ferrera Long Straight Hairstyle
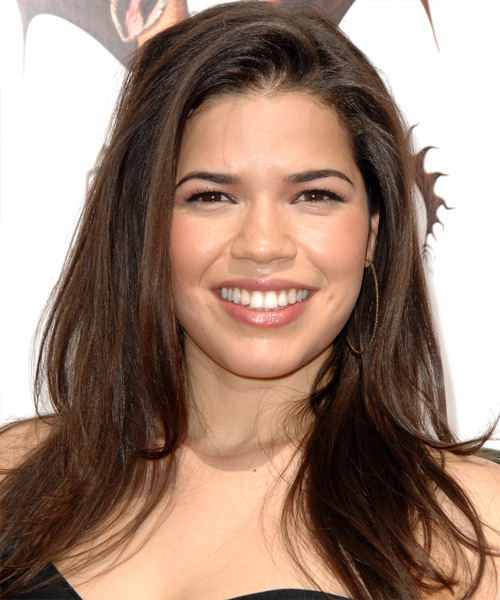
Image © MediaPunch
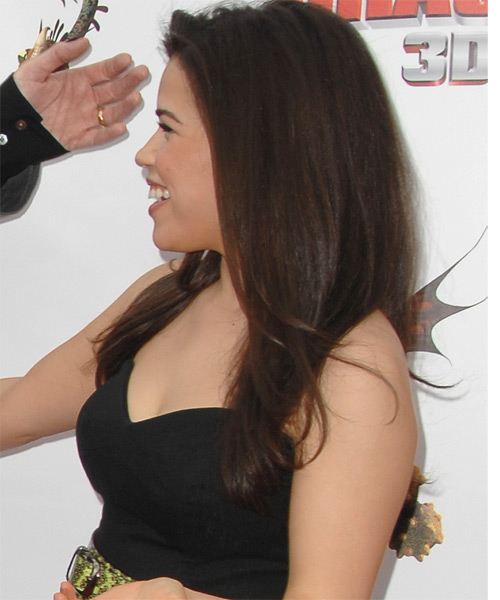
Image © MediaPunch
Hairstyle Suitability Rating:
Hairstyle Popularity Rating: ★★★★★
Hairstyle Popularity Rating: ★★★★★
Hairstyle Type
Category
Casual
Length
Long
Elasticity
Straight
Haircut Technique
Type
Suitability
Gender
Women
Face Shape
round,oval,square,heart,triangular
Hair Density
Thin/Medium
Hair Texture
Fine/Medium
Age
Under 21, 21 - 30, 31 - 40, and 41 - 50
Height
Any
Weight
Thin/Average/Large
Forehead Height
Short/Average
Neck Length
Short/Average
Ears
Small/Average
Nose
Small/Average
Glasses
Yes
Styling
Time
30 minutes
Tip
Use your finishing products to smooth down the ends and direct your hair into place.
Products
sculpture lotion, smoothing shine, hair spray
Tools
blow dry

