Added:
10 Nov 2010
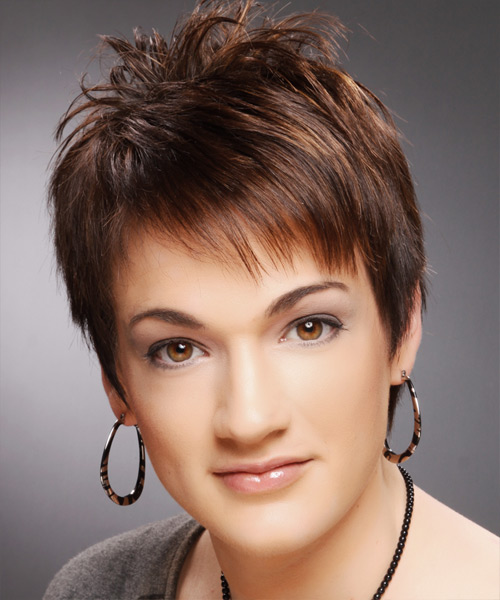
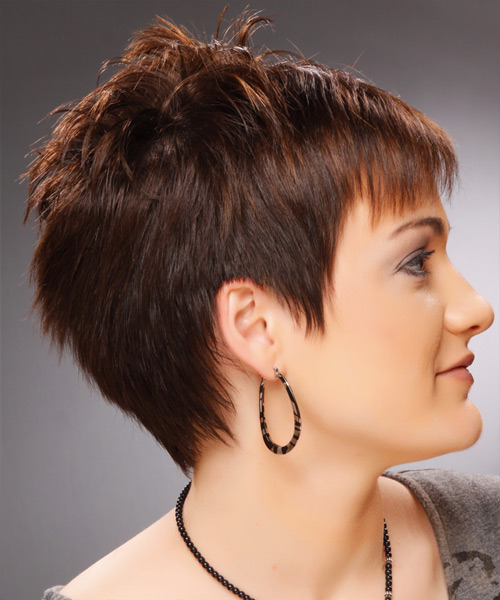
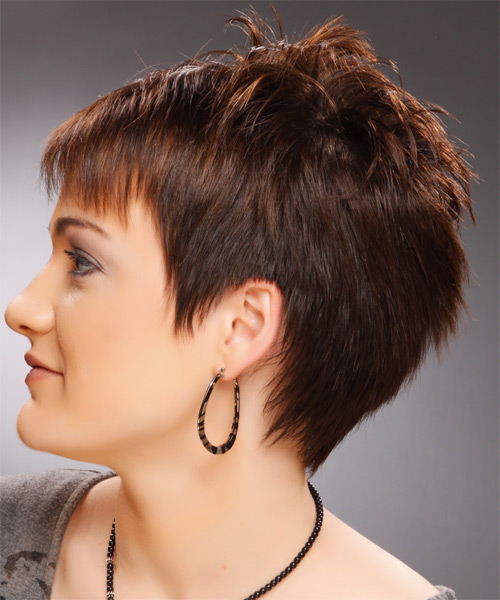
This wispy Pixie haircut is perfect if you have fine hair and want to create volume and give your locks a fuller look. This wispy hairstyle is also very chic, stylish, and easy to maintain. You can style this Pixie haircut in different ways, including straight, curly, or wavy depending on how you feel and want to wear your hair. This short Pixie cut has wispy edges all over to maintain a textured finish and a fresh look. The crown has been teased at the roots to create height and definition for a funky finish. This hairstyle is an excellent option for round and oval face shapes. The bangs are cut in a soft and gentle sweep across the forehead to add more balance to the face shape. It is also ideal for women with fine thin hair, as it is layered to create volume and texture while leaving some natural movement. You will need to have regular hair trimming to keep this short hairstyle tidy and in shape.
Wispy Pixie Haircut For Fine Hair
Visual Story
Hairstyle Suitability Rating:
Hairstyle Popularity Rating: ★★★★★
Hairstyle Popularity Rating: ★★★★★
Hairstyle Type
Category
Casual
Length
Short
Elasticity
Straight
Haircut Technique
Type
Suitability
Gender
Women
Face Shape
round,oval,heart,triangular
Hair Density
Thin/Medium
Hair Texture
Fine/Medium
Age
Under 21, 21 - 30, and 31 - 40
Height
Any
Weight
Thin/Average/Large
Forehead Height
Short/Average
Neck Length
Short/Average
Ears
Small/Average
Nose
Small/Average
Glasses
Yes
Styling
Time
10 minutes
Tip
Use your fingers to add height and texture into this style and allow the products to dry naturally.
Products
moulding cream, lacquer

