Added:
13 Jun 2016
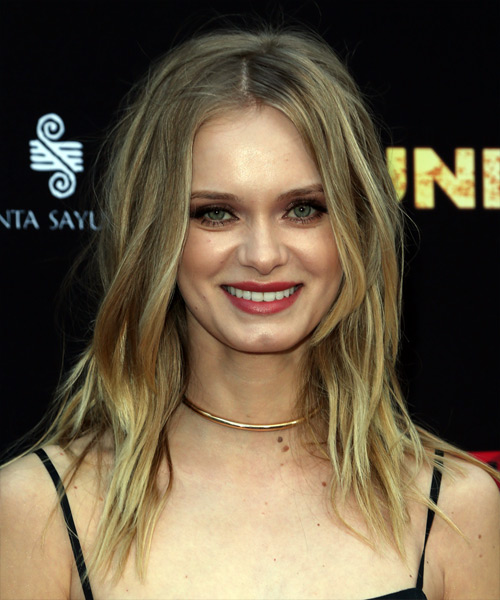
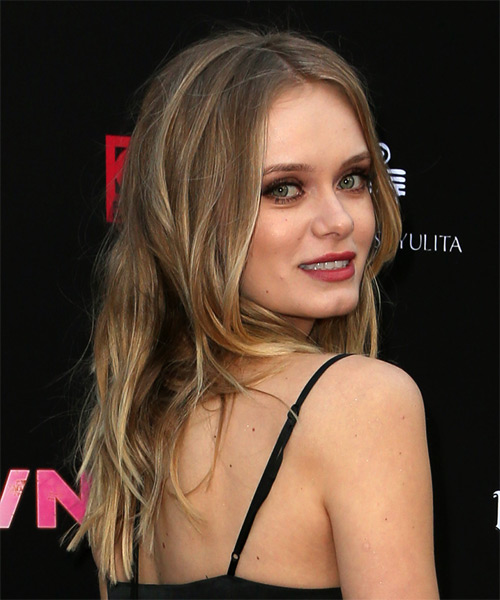
Loose waves are dressed through the sides and back of these blonde locks to give the over-all style subtle movement and bounce. This casual style is easy to re-create at home with the right tools and needs a little product to tame fly-away hair. Regular trims is needed to prevent split ends.
Sara Paxton looks lovely here in a cool, casual wavy hairstyle. Having a square face shape and high hairline, Sara’s face looks best in ‘dos with a grown out fringe and longer layers around the face. This simple bob creates a nice frame for her face and allows her hair’s natural texture to do its thing, adding body and bounce all over. The longer length in the front of this bob softens up her jaw line area and gives her tresses some movement. A messy center part finishes this ‘do off nicely and works well with her high forehead.
Sara has a warm, fair complexion with golden undertones and hazel green eyes. This makes her suited to hair colors that have a yellow or gold base to them, like the dark honey blonde seen here. This natural-looking shade is ideal for her complexion and it brings out the intensity of her eye color. Highlights and lowlights give her color depth and dimension.
Sara Paxton is an American actress, model and singer. She grew up in California and began acting at an early age, appearing in many minor roles in both films and television shows.
Sara Paxton Long Wavy Blonde Shag Hairstyle
Hairstyle Suitability Rating:
Hairstyle Popularity Rating: ★★★★★
Hairstyle Popularity Rating: ★★★★★
Hairstyle Type
Category
Casual
Length
Long
Elasticity
Wavy
Hair Color
Blonde
Haircut Technique
Type
Scissor Cut
Suitability
Gender
Women
Face Shape
oval,oblong,square,heart,diamond
Hair Density
Medium
Hair Texture
Medium
Age
Under 21, 21 - 30, 31 - 40, 41 - 50, and 51 - 60
Height
Any
Weight
Thin/Average/Large
Forehead Height
Long
Glasses
Yes
Styling
Time
20 minutes
Tip
Apply a small amount of smoothing shine to the top sections for shine and hold.
Products
mousse, wax, hair spray
Tools
natural, finger dry

