Added:
10 Nov 2010
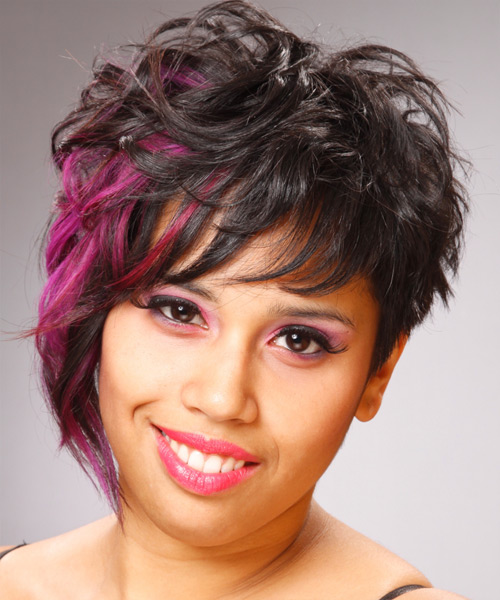
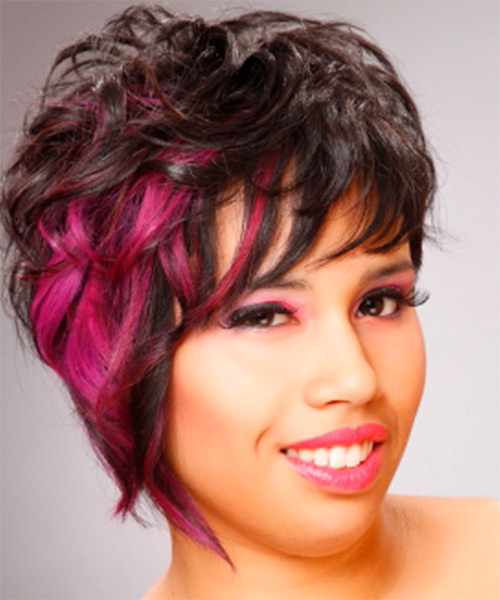
You can never go wrong with a short haircut, especially when you're in need of a change. This hairstyle is anything but boring and gives you an edgy street look that will remind you of those hard-to-place bands or celebrities you used to follow in your youth. This hairstyle is perfect for any occasion. It is great for a day out or just leaving the house. The wavy black hair with pink highlights keeps this look natural and chic.
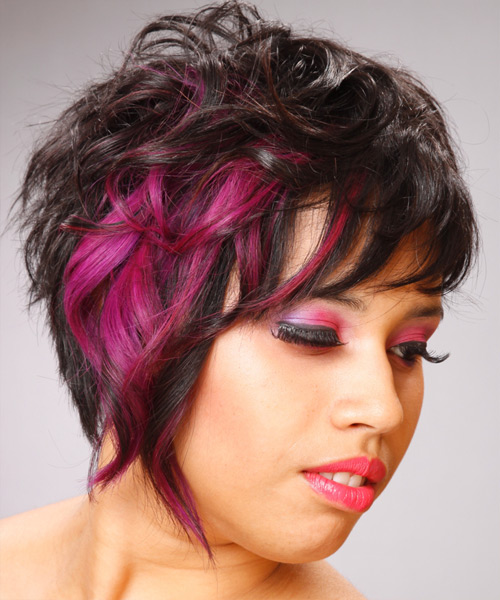
Our model is wearing this short wavy black hairstyle with pink highlights, a pink top, eye shadow and thick mascara. Her lips are hot pink colored and the rest of her makeup is effortlessly flaunting her funky vibes! Flamboyant is what best describes this bold hairstyle. The back is tapered into the neck for shape and style while the sides are cut unevenly for an asymmetric look. The wicked highlights work well with this style to add contrast and spice for a brilliant finish. This lovely medium/coarse hairstyle is ideal if you have a round face shape and find it difficult to style and maintain. This gorgeous hairstyle makes your oval, oblong or square face look attractive because it highlights the cheeks. It is a perfect option for women who want to add some flair to their hair. It has pink highlights and lightened ends to highlight the face, leaving a more sophisticated finish.
This elegant hairstyle adds a touch of grace and sophistication to any head of hair. The long, thick layers define the face while the soft curls and pink highlights create silky soft volume at the ends. Maintain this look with regular trims every 4 to 6 weeks depending on your hair growth. Using products with a strong hold will help to keep this style in place.
Short Black Asymmetrical Hairstyle With Waves And Pink Highlights
Visual Story
Hairstyle Suitability Rating:
Hairstyle Popularity Rating: ★★★★★
Hairstyle Popularity Rating: ★★★★★
Hairstyle Type
Category
Alternative
Length
Short
Elasticity
Wavy
Hair Color
Black with Pink Highlights
Haircut Technique
Type
Razor Cut
Suitability
Gender
Women
Face Shape
oval,oblong,square,diamond
Hair Density
Medium/Thick
Hair Texture
Medium/Coarse
Age
Under 21, 21 - 30, and 31 - 40
Height
Any
Weight
Thin/Average
Forehead Height
Short/Average
Neck Length
Short/Average
Ears
Small/Average
Nose
Small/Average
Glasses
No
Styling
Time
30 minutes
Tip
Using products with strong hold will help to keep this style in place.
Products
mousse, moulding cream, lacquer
Tools
finger dry, hot rollers

